Posted October 30, 2018.
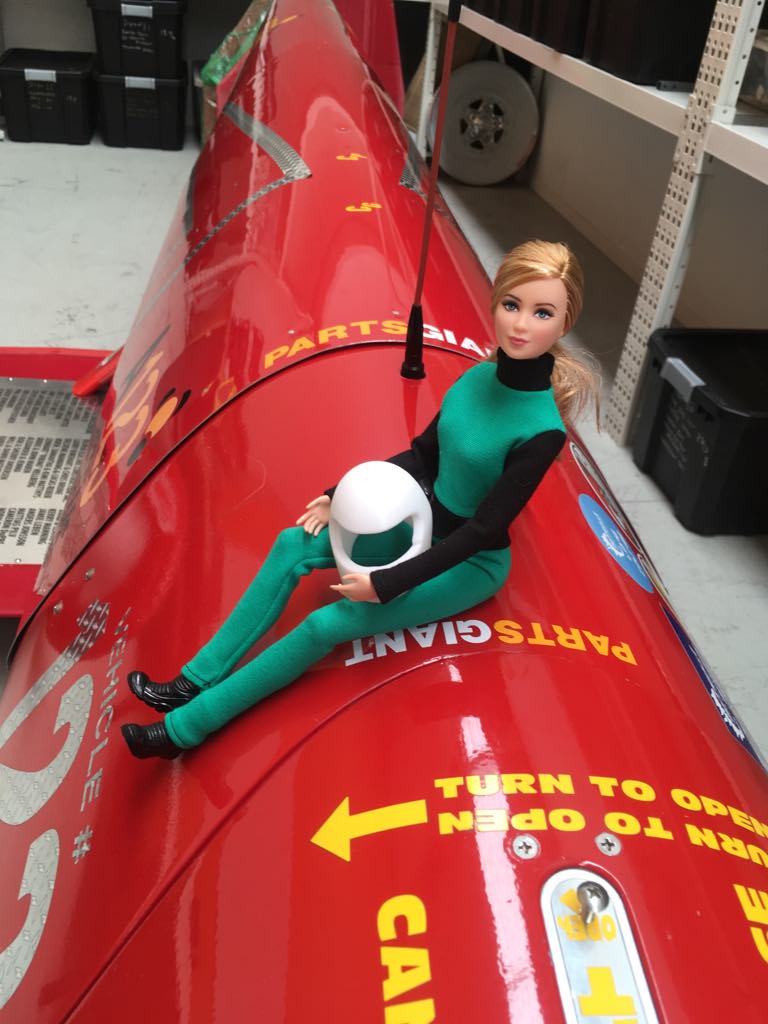
Of course the doll needs a racing helmet and racing suit! With a sewing machine and 3D printer you can make your own “Mini-Eva” engineering action figure complete with racing suit and helmet. All needed files, patterns and instructions are found below. It will fit Barbie® and similar fashion dolls.
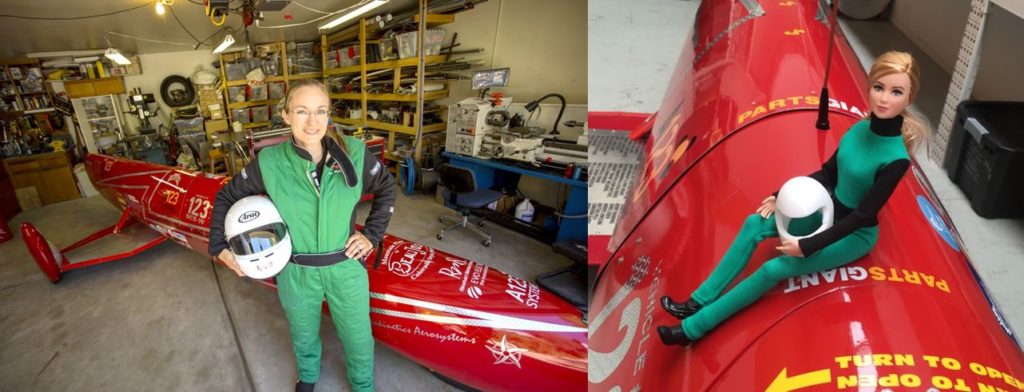
Who is who? Is that Eva? Or is it Eva the doll? It is impossible to know; we can’t tell them apart.
Instructions how to make the racing helmet
Step 1: Download the helmet for 3D printing here (.zip folder, contains also the racing suit pattern).
Step 2: Right-click on the folder and select Extract All to un-compress the folder.
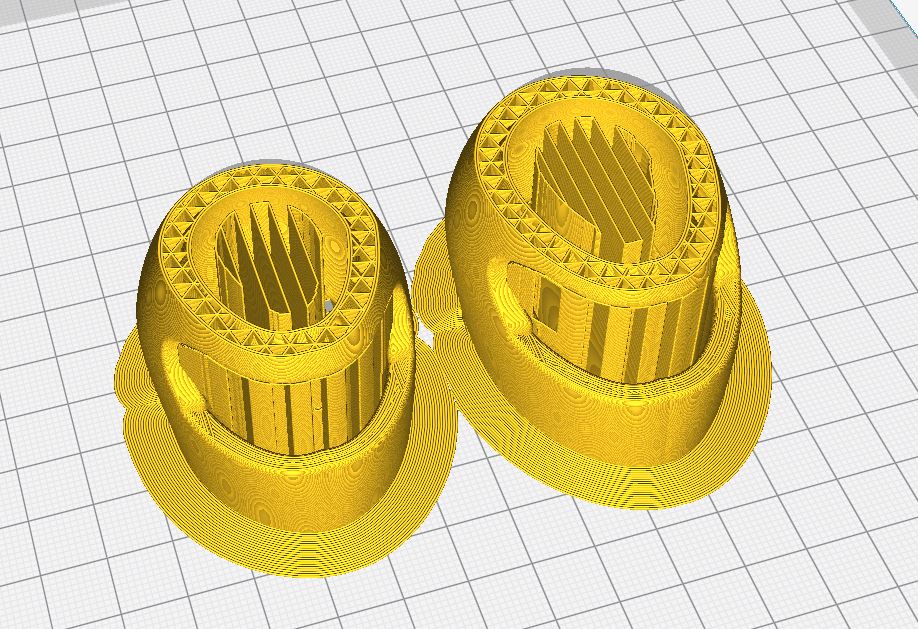
Step 3: Select the correct helmet for your doll. Two different sizes are included – one for the regular Barbie® and one for the “Divergent” collectible Barbie® in the cover photo that has a slightly smaller head.
Step 4: Print the helmet.
I used white PLA (a bio-based, compostable plastic made from corn starch) and a layer height of 0.1 mm. It took about 3 hours to print.
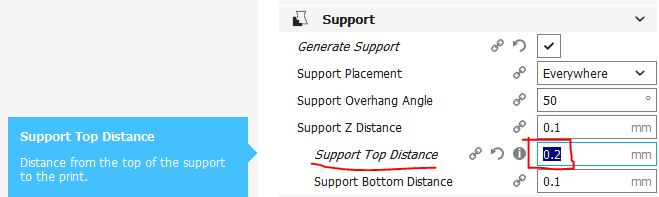
Use support, but make sure to increase the vertical distance between the support and the part to 0.2 mm (default in Ultimaker Cura is 0.1 mm). If the distance is less than 0.2 mm, it will be very difficult to remove the support and the remains will mess up the doll’s hair (and that won’t make anyone happy). The screen shot below shows how you cahnge the Support Top Distance in Ultimaker Cura.
A brim (sometimes also called Bed Adhesion) is also recommended.
I printed the helmets on my Creality Ender 3, which is a low-cost printer with surprisingly high quality. (You can read more about the Creality Ender 3 here).
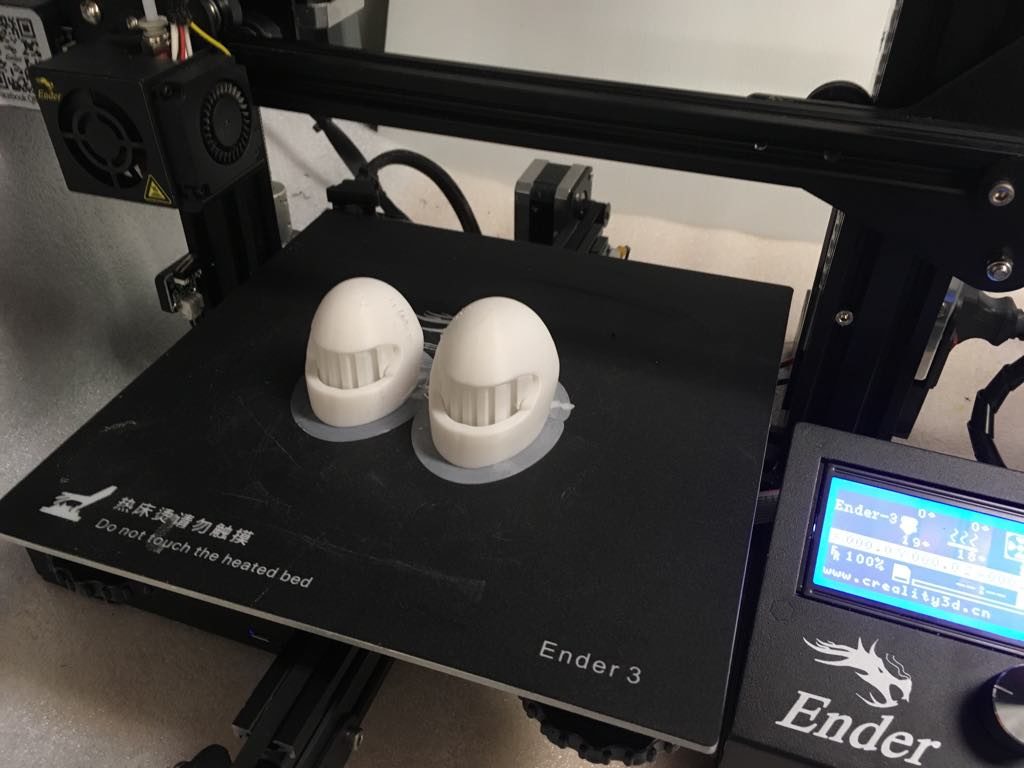
Step 5: Remove the support using pliers or diagonal cutters. Be careful when you break off the support. Pieces can break off and fly away at high speed. Safety glasses are recommended. Remove any sharp edges or bumps.
Step 6: Done!
Instructions how to make the racing suit
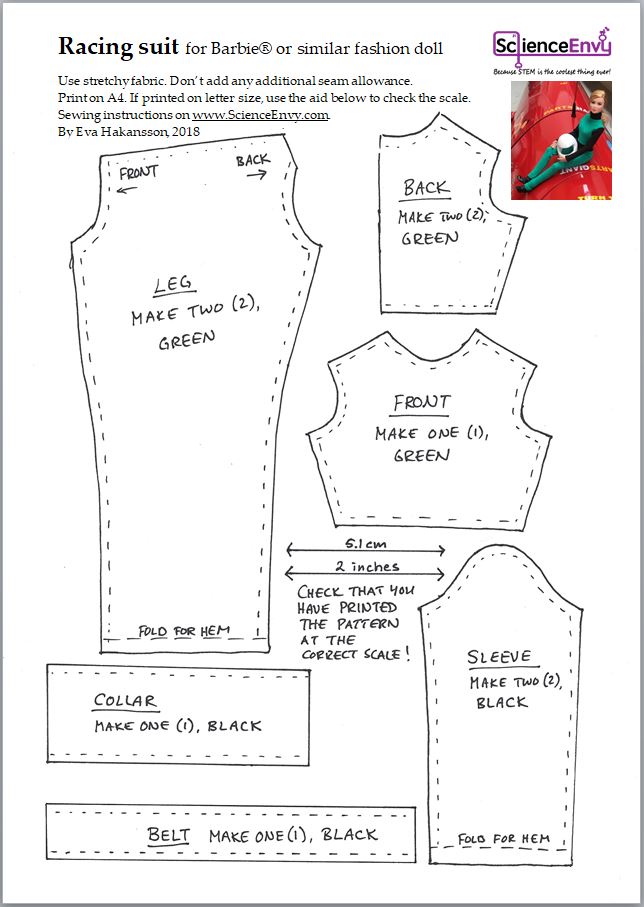
Step 1: Download the pattern here. Use the PDF document rather than the image below to make sure you get the correct size and high quality.
Step 2: Print the pattern on A4 sheet paper. If you use letter size instead, make sure the scale is correct by measuring the scale aid. The arrows should be 5.1 cm or 2 inches long. If they are shorter or longer, adjust the print settings until it prints correctly.
Step 3: Cut out the pattern from the printed page.
Step 4: Select a suitable stretchy fabric. If you want to match my racing suit, you need black and green fabric, but you are welcome to create a suit for “your own” racing team in any colors. I bought two used skirts from the Salvation Army Family Store to get suitable fabric. That way the material is recycled and I also support the Salvation Army’s social work. Win-Win!
Use black or green thread if you choose the color scheme presented here. I used black thread.
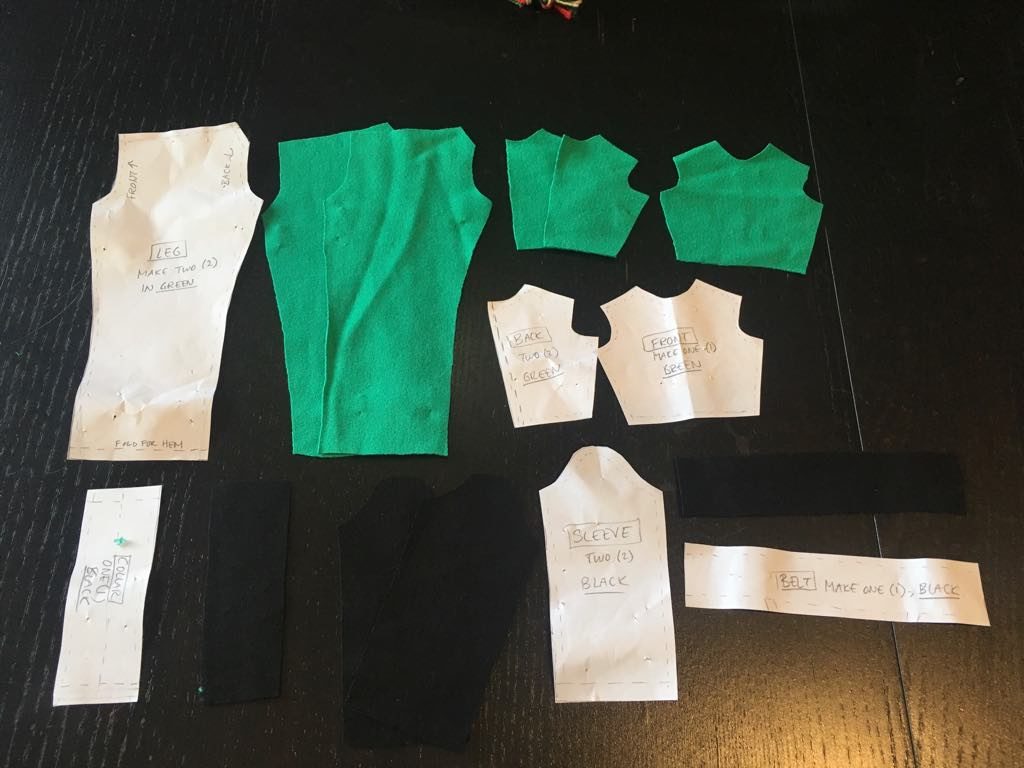
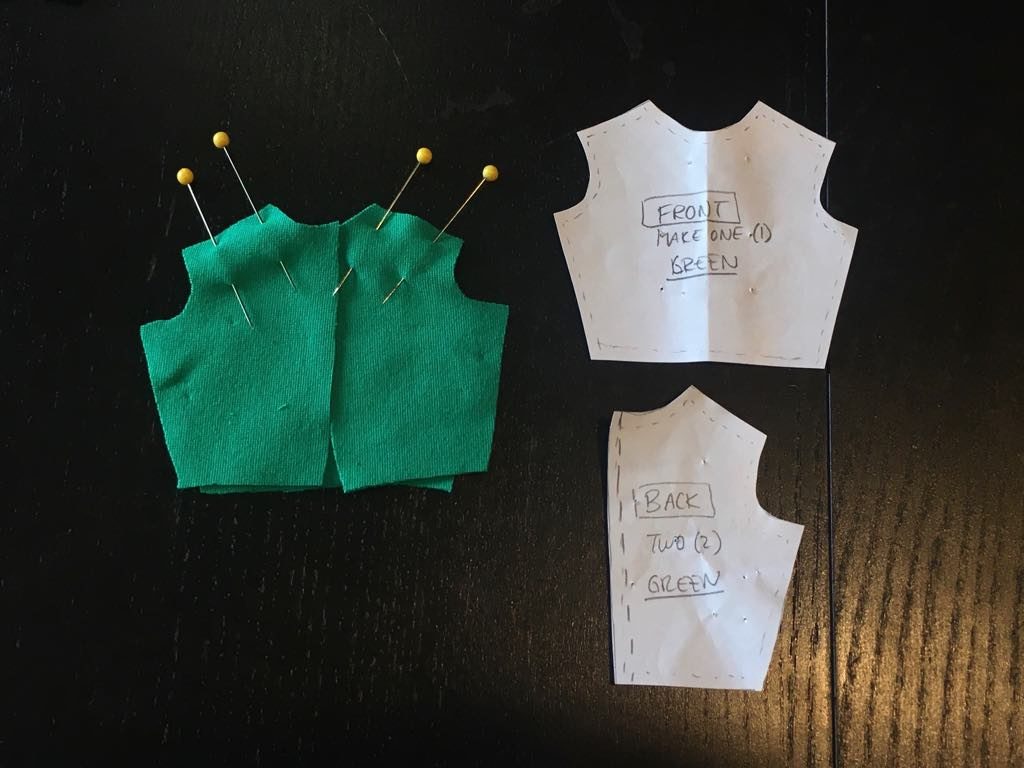
Step 5: Pin the pattern to the fabric. Pay attention to the number of pieces needed, and the color.
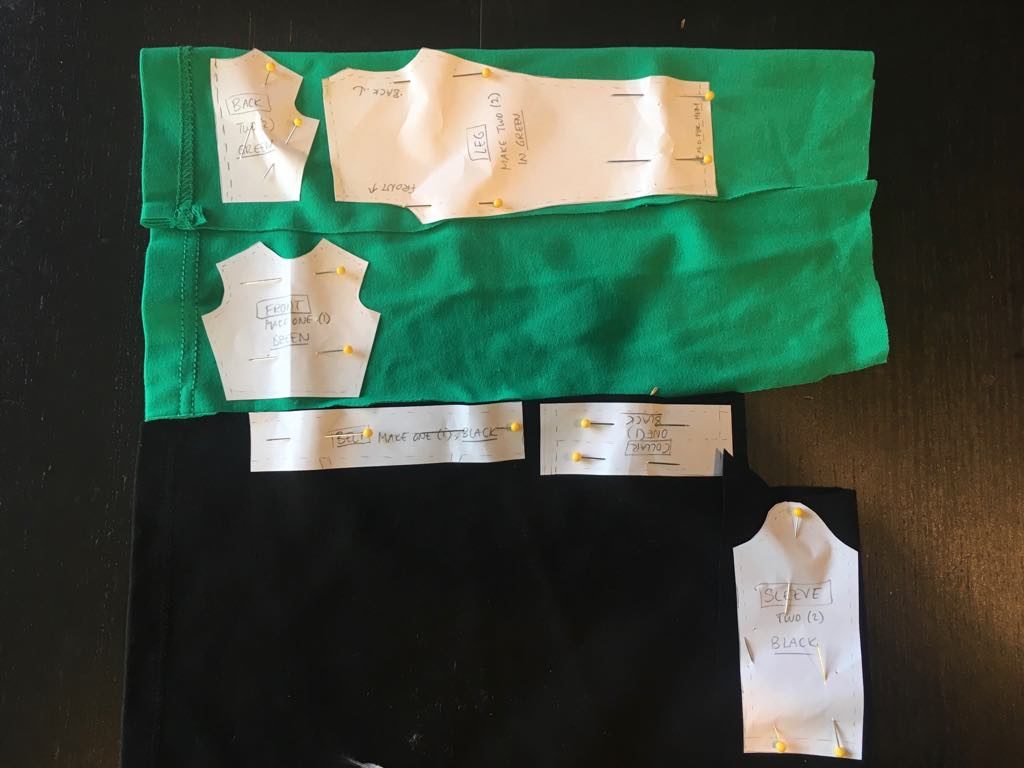
Step 6: Cut out the fabric. Don’t add any extra seam allowance; the necessary seam allowance is already included in the pattern.
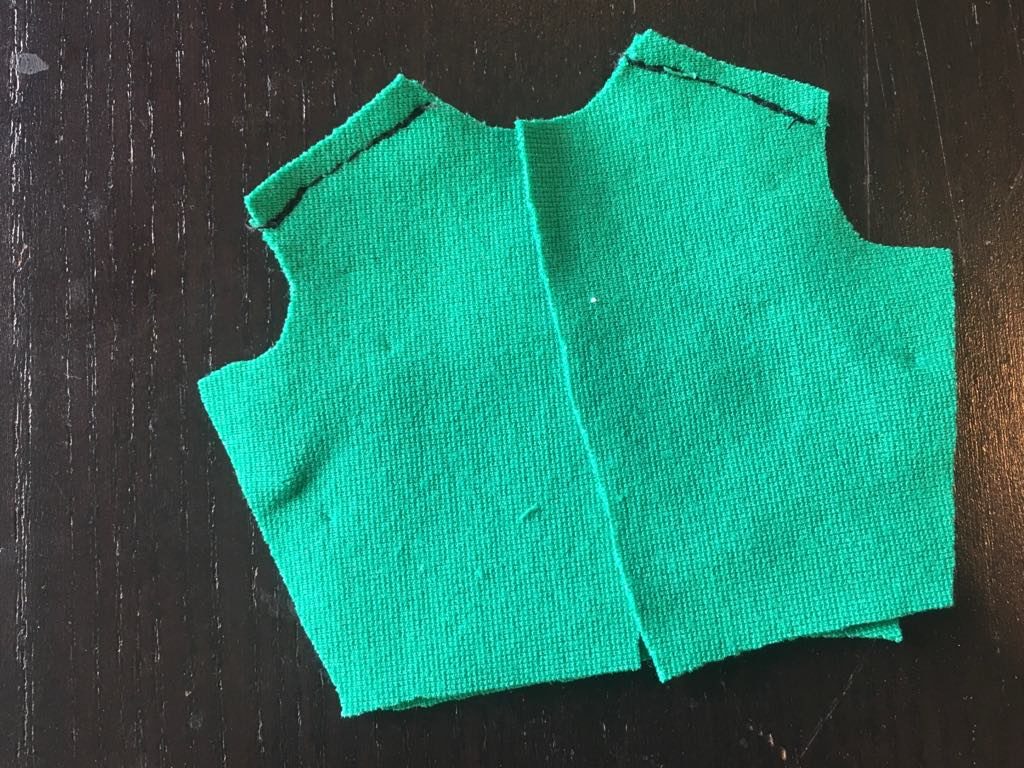
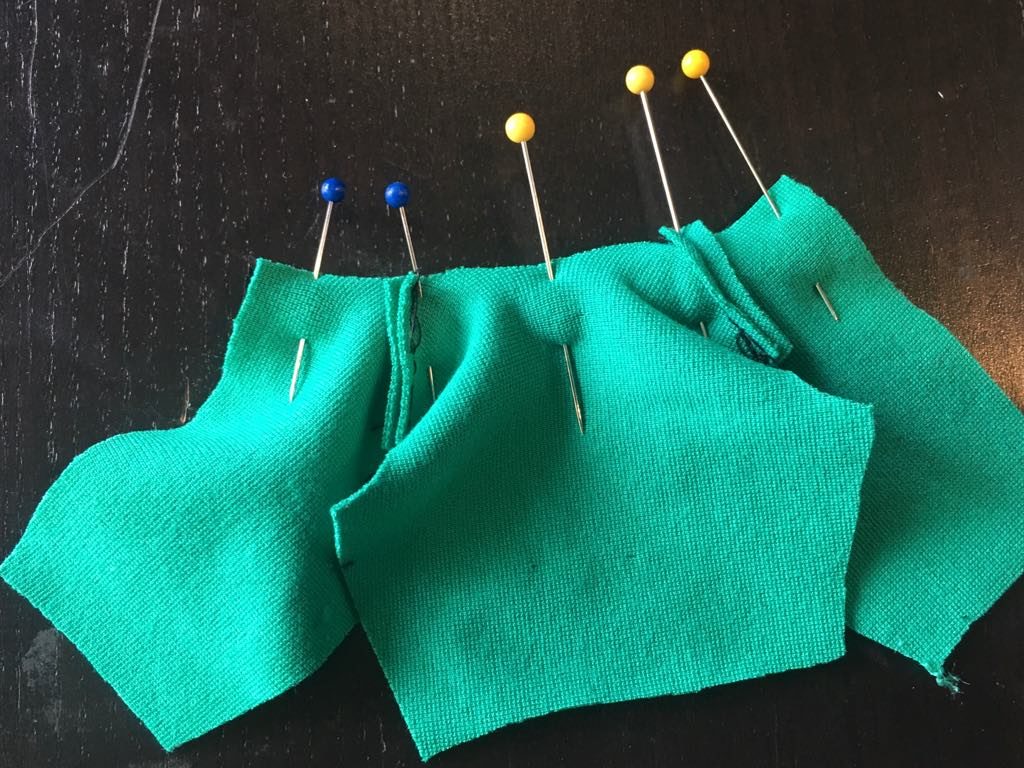
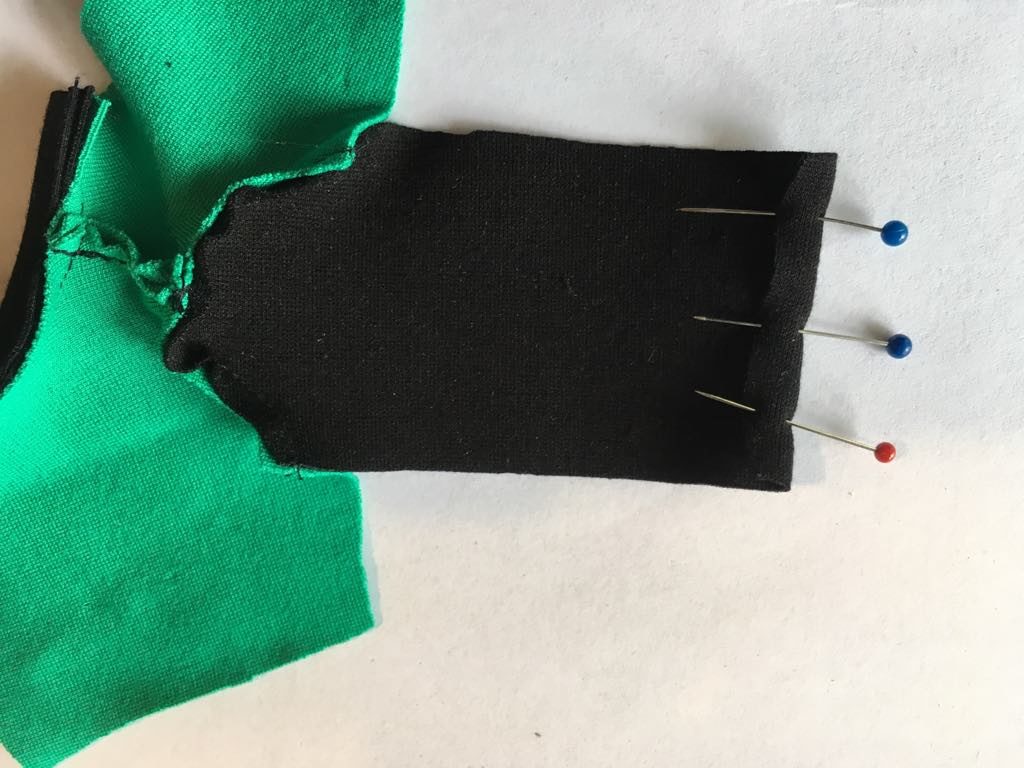
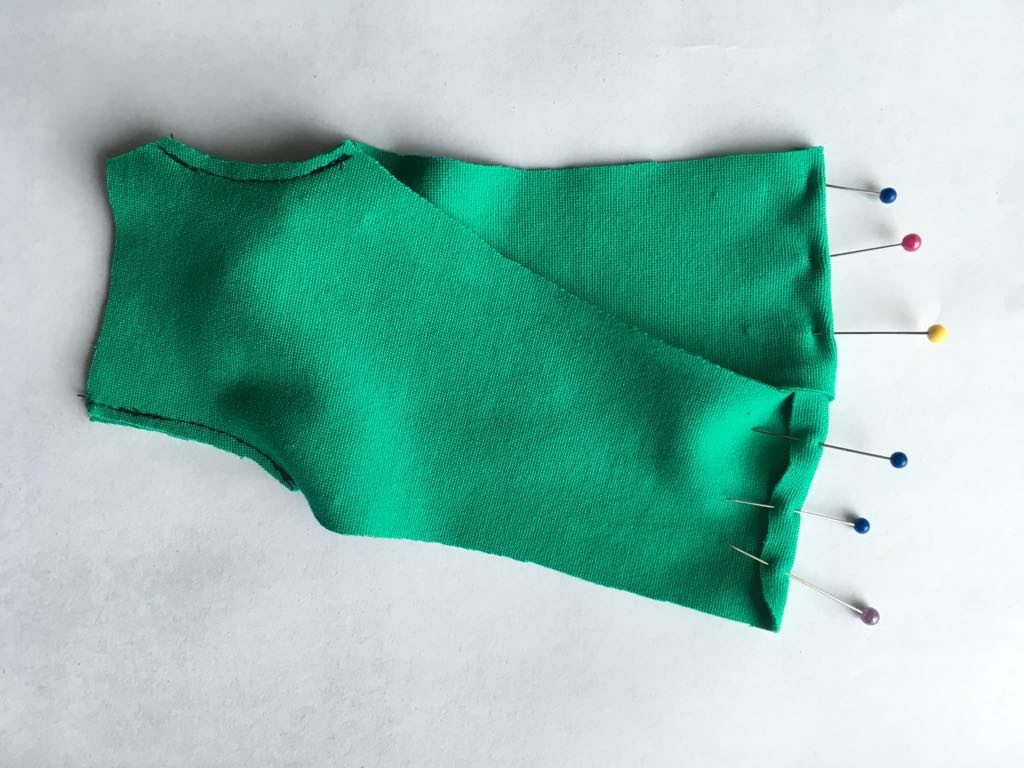
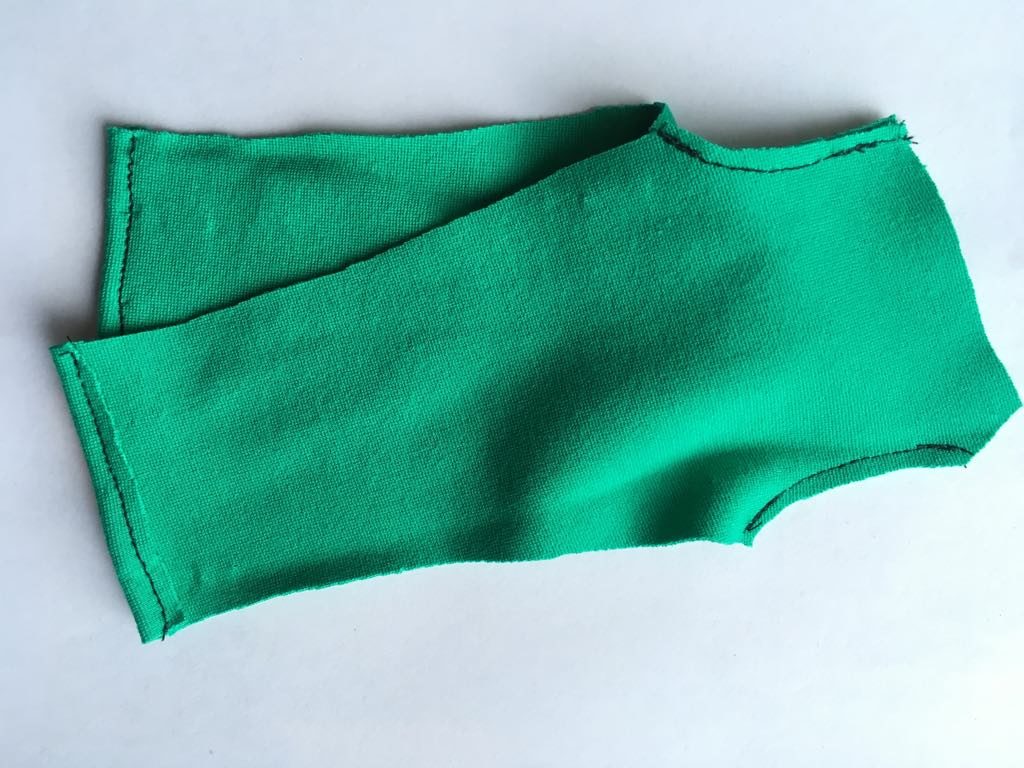
Step 7: Pin together the shoulder seams, and sew them. Straight stitches are easier, but a small zigzag will make it more rugged for rough play.
Step 8: Pin and sew the crotch seams. Note that the seam on the back shouldn’t go all the way up.

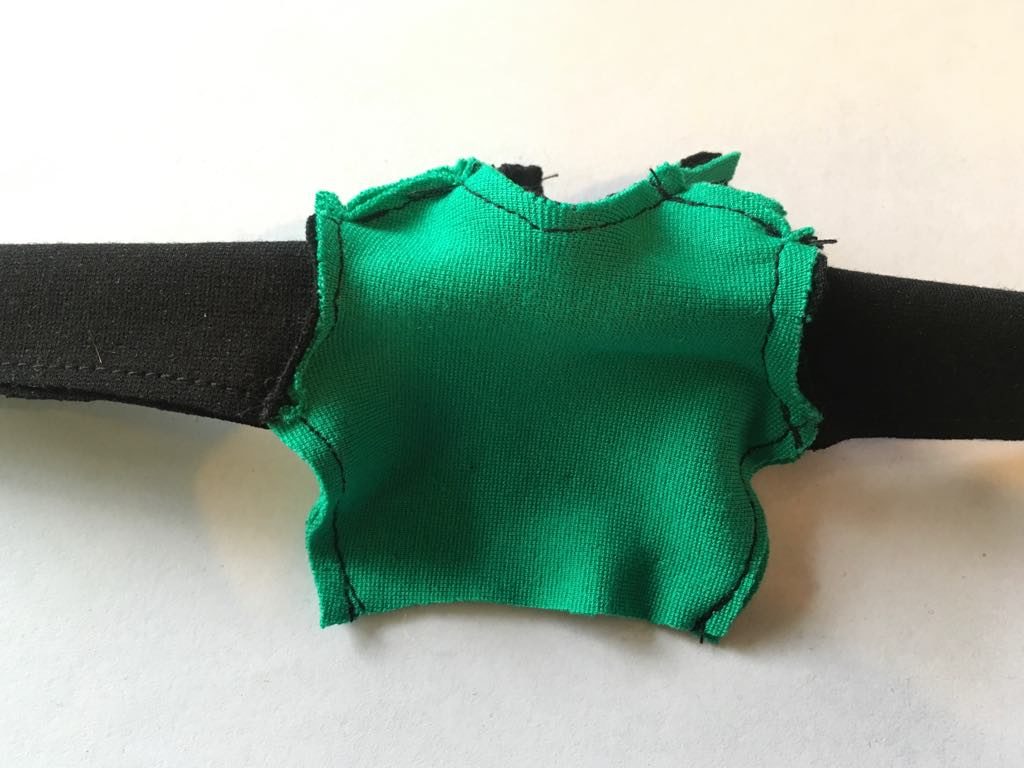
Step 9: Fold the piece for the collar, pin, and sew.
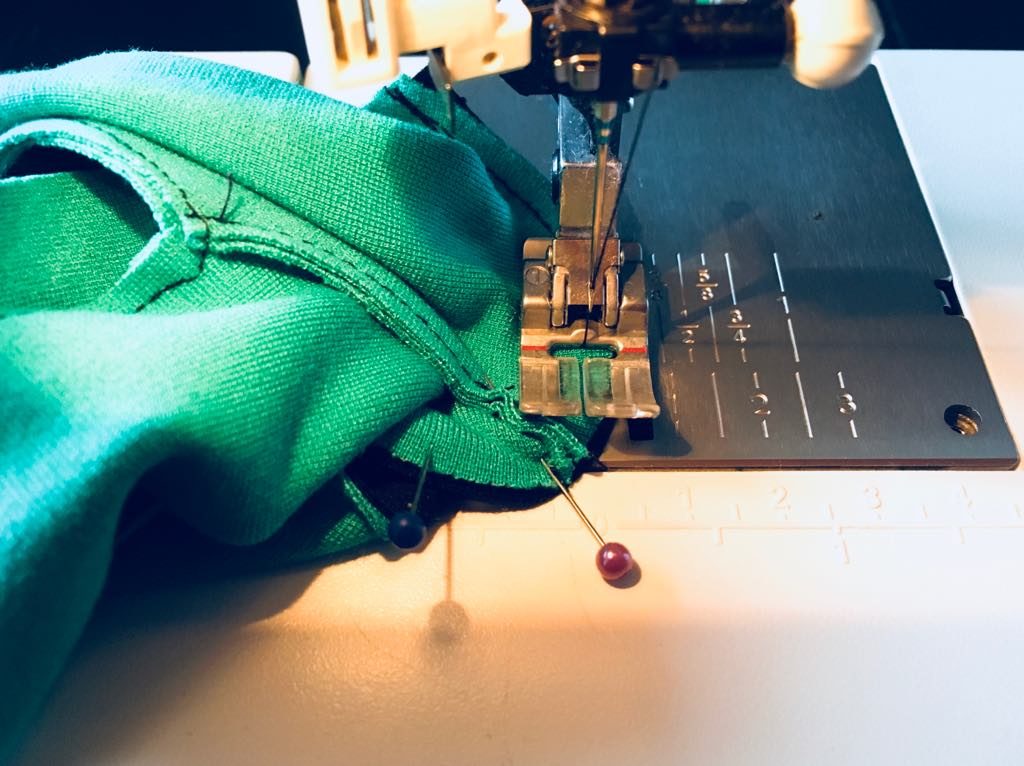
If you use black thread, when you sew black and green pieces together, it is easier to see the seam if you keep the green side upwards.
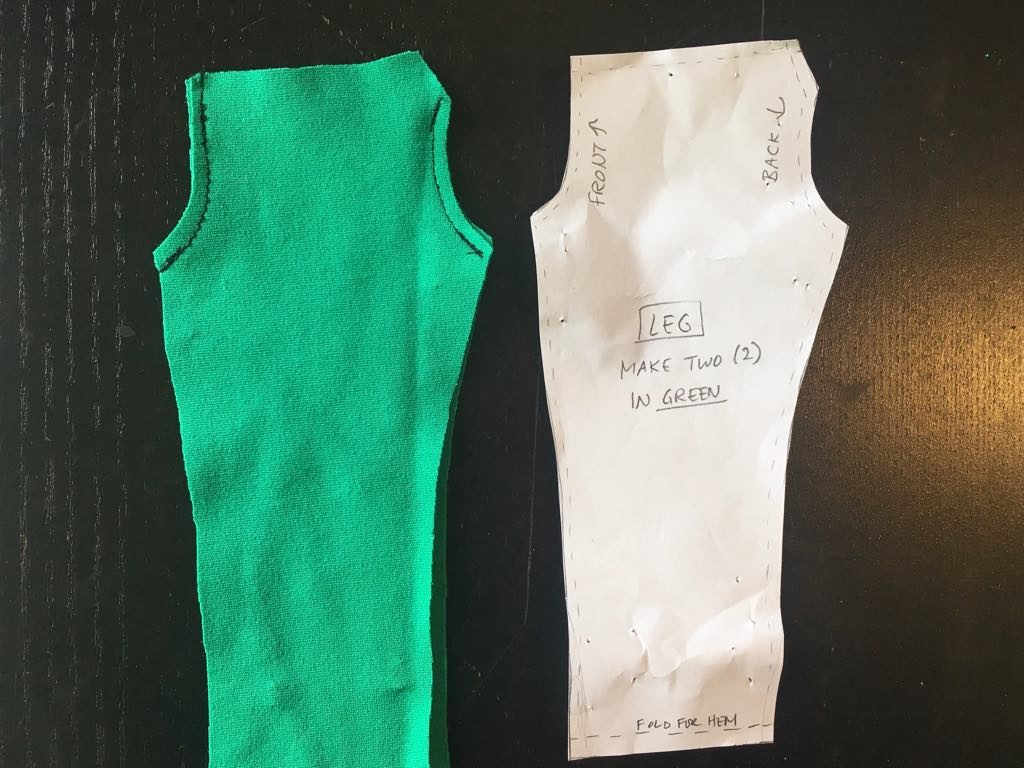
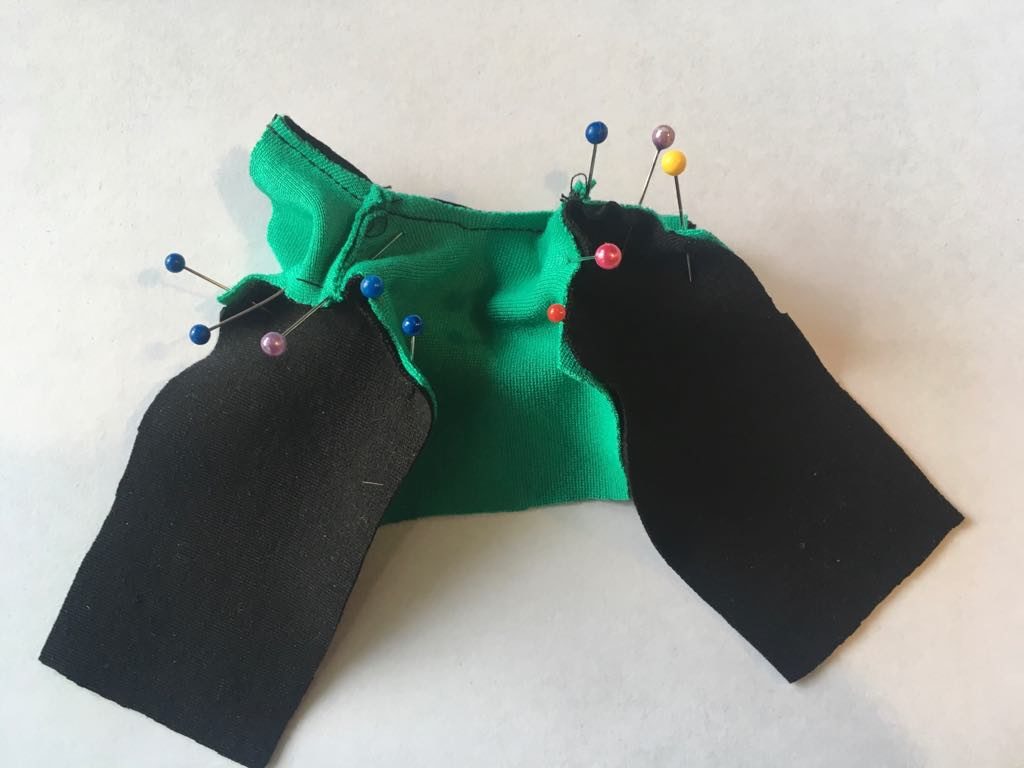
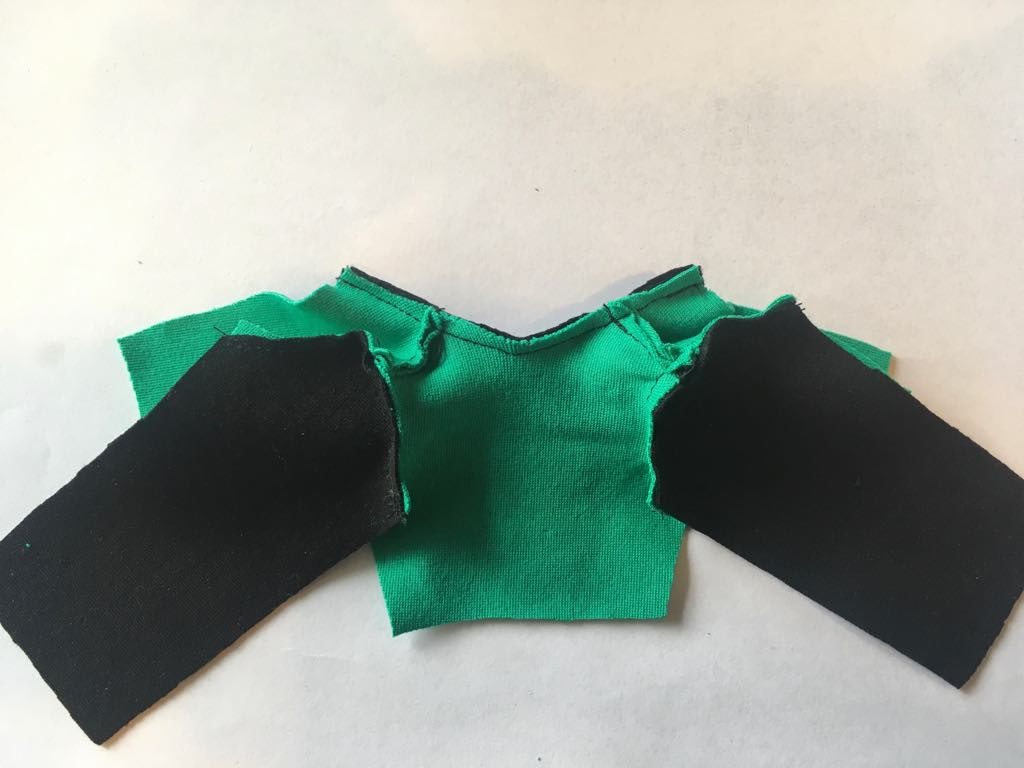
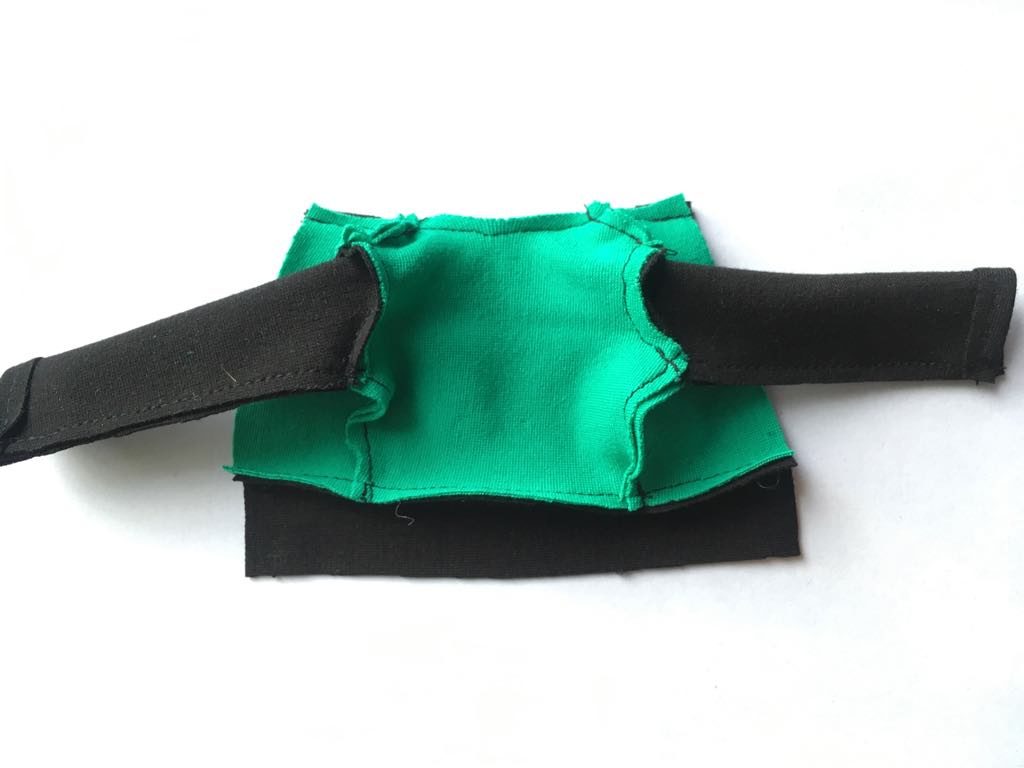
Step 10: Pin and sew the sleeves.
Step 11: Hem the end of the sleeves.
Step 12: Pin and sew the side seams. 
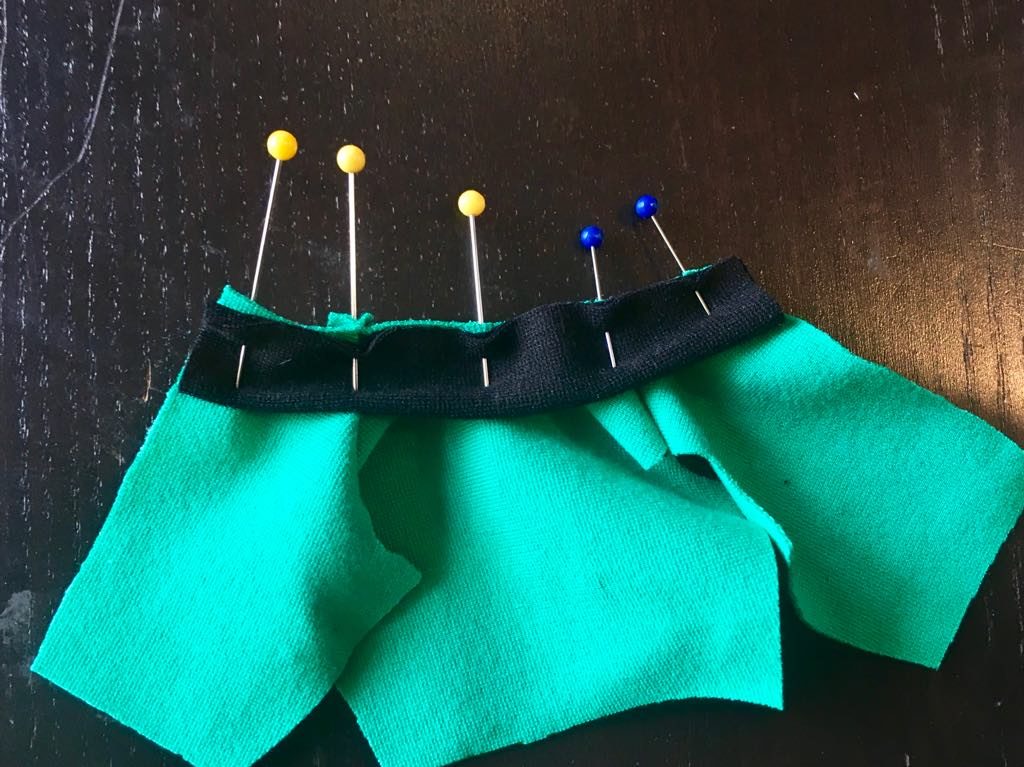
Step 13: Pin and sew the belt.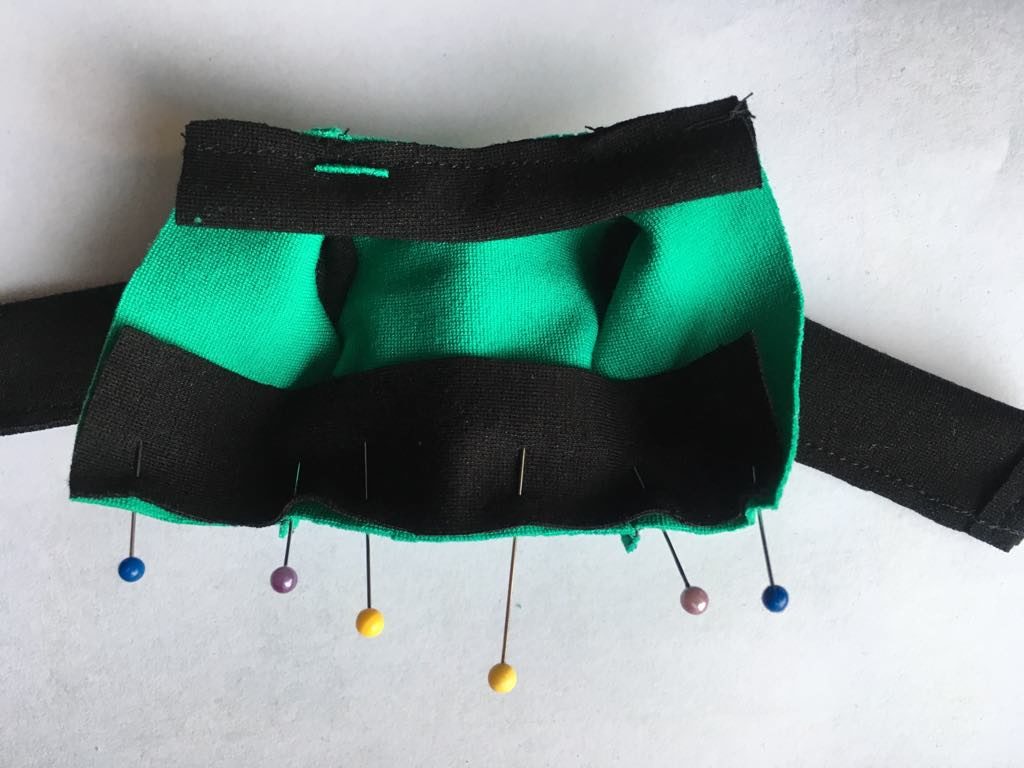
Step 14: Pin and hem the legs.
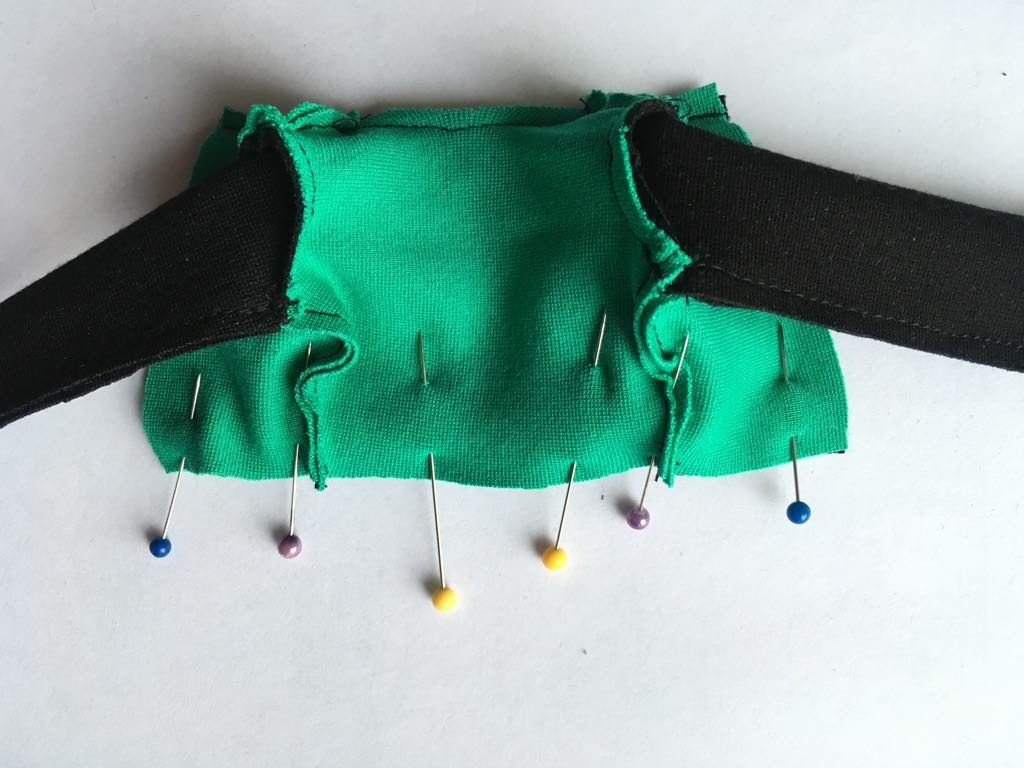
Step 15: Pin and sew the top and bottom together. This is a bit tricky and takes some patience. If you are out of patience, now is the time to take a break. You are almost done, and you don’t want to mess it up now. 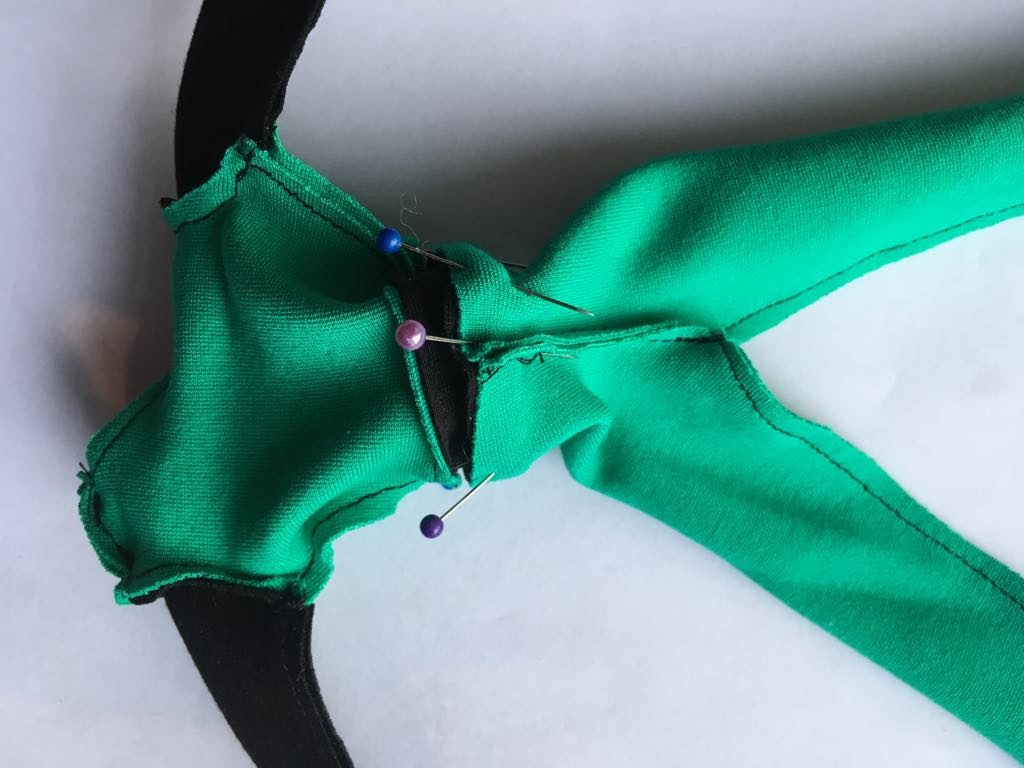
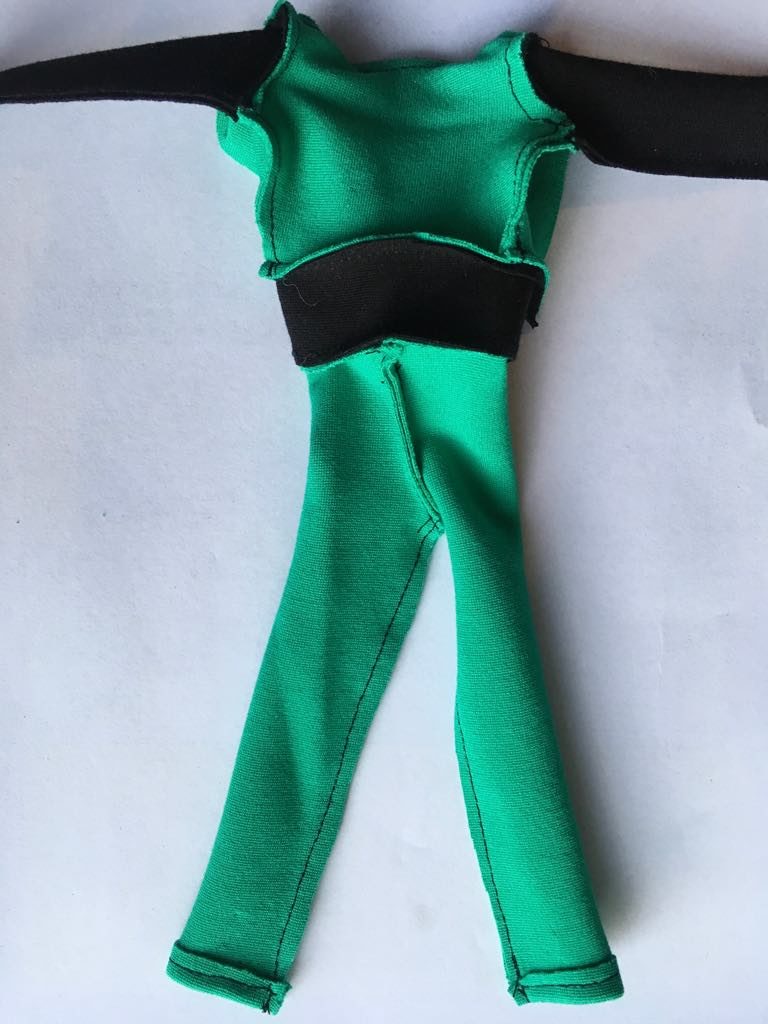
Step 16: Time for the first fitting! Turn the suit right-side-out. If you have trouble turning the skinny legs and sleeves, use a chopstick or pencil to push it through.
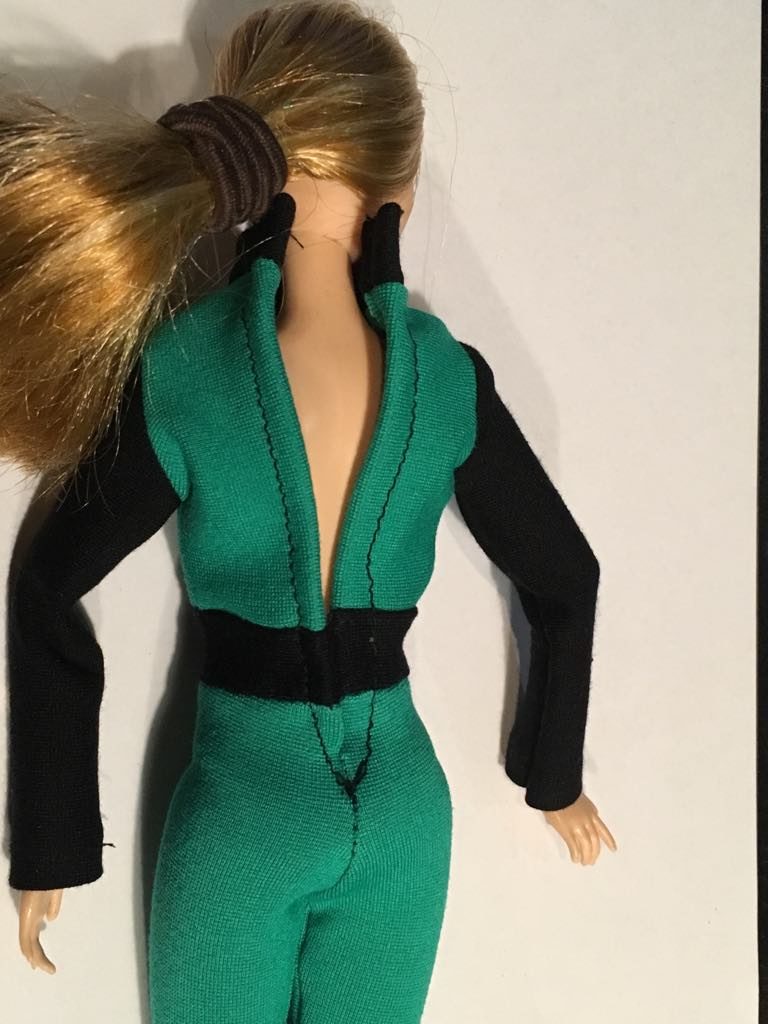
Different fashion dolls have slightly different measurements. Now is the time to make any needed adjustments, such as shortening or lengthen the torso. The suit on the doll below has a bit too long torso. This has been adjusted in the pattern that you downloaded. Expect a much tighter fit for your creation. 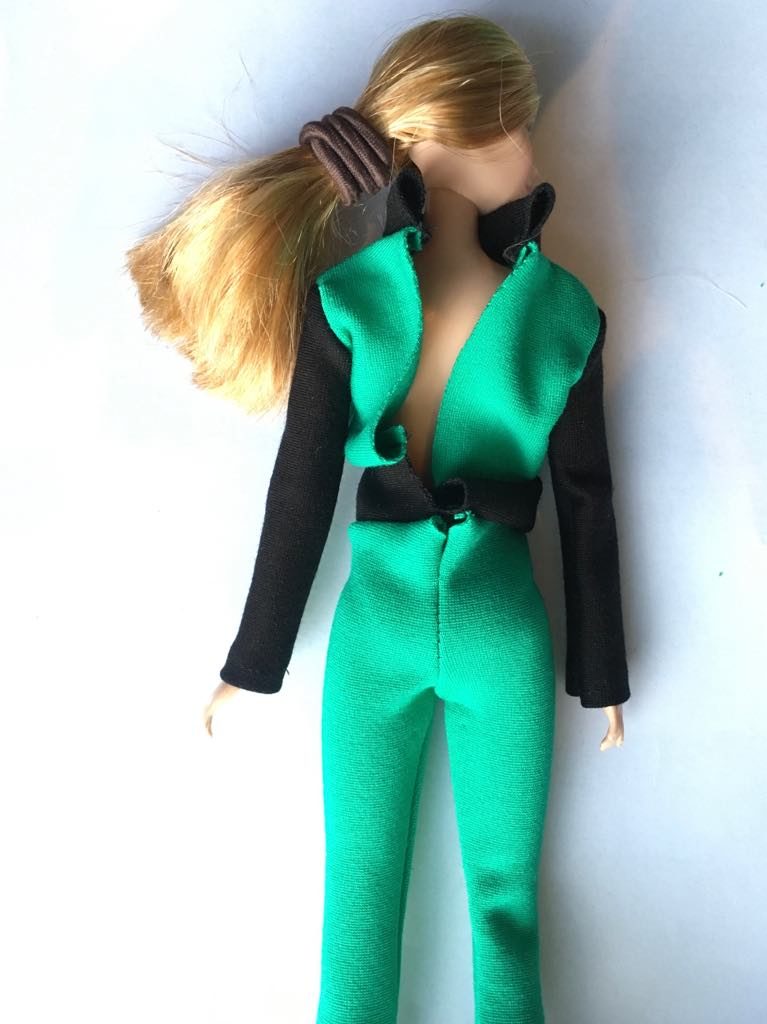
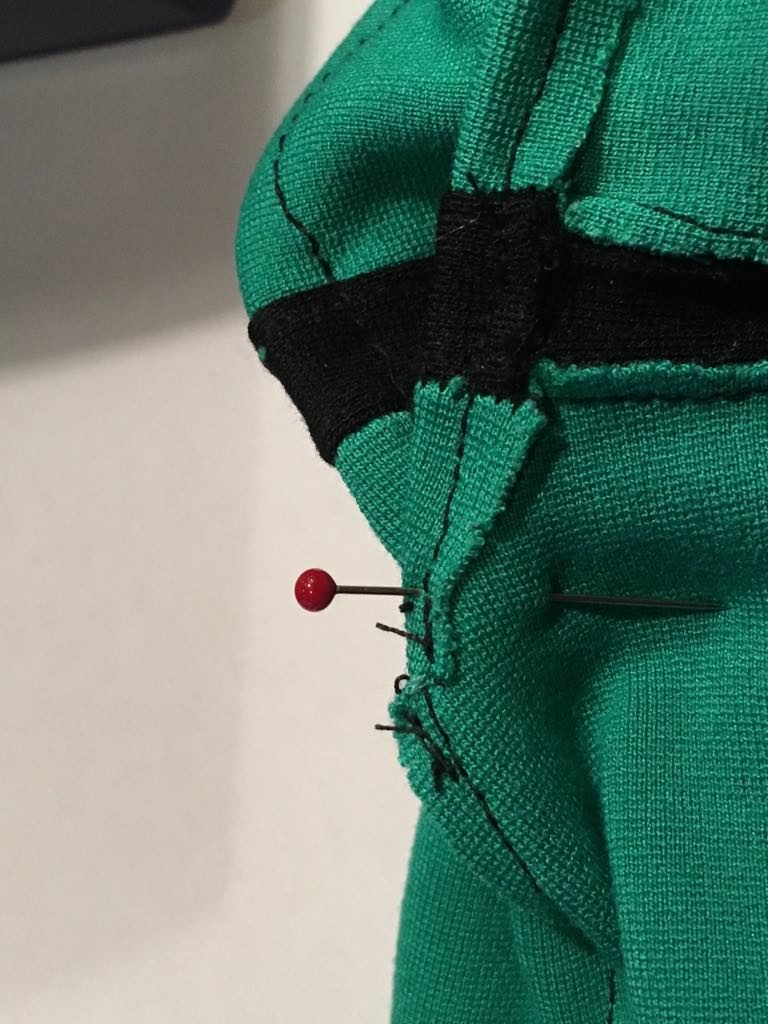
Step 17: When you are happy with the fit, sew down the seam allowance on the black belt to give a nicer fit (this procedure probably have a fancy name, but I don’t know it. See the photos if you don’t understand what I mean). 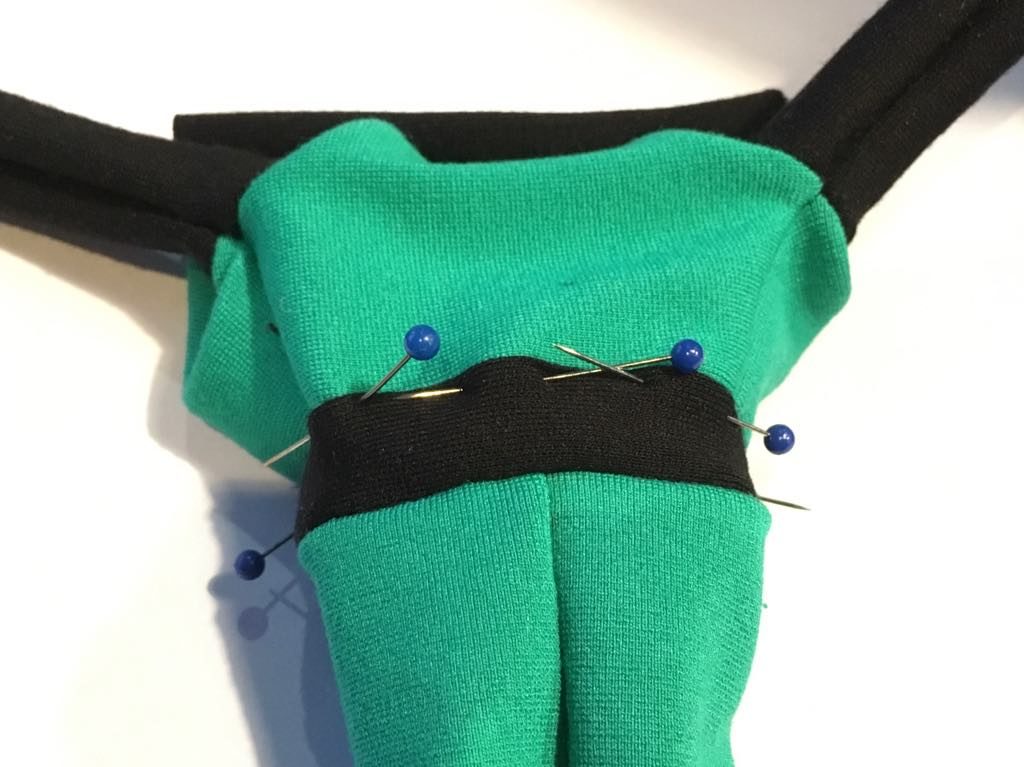

Step 18: Hem the back opening. Adjust the amount you fold over to make it fit your particular doll. You might have to put the suit on again to check the fit before you sew it. 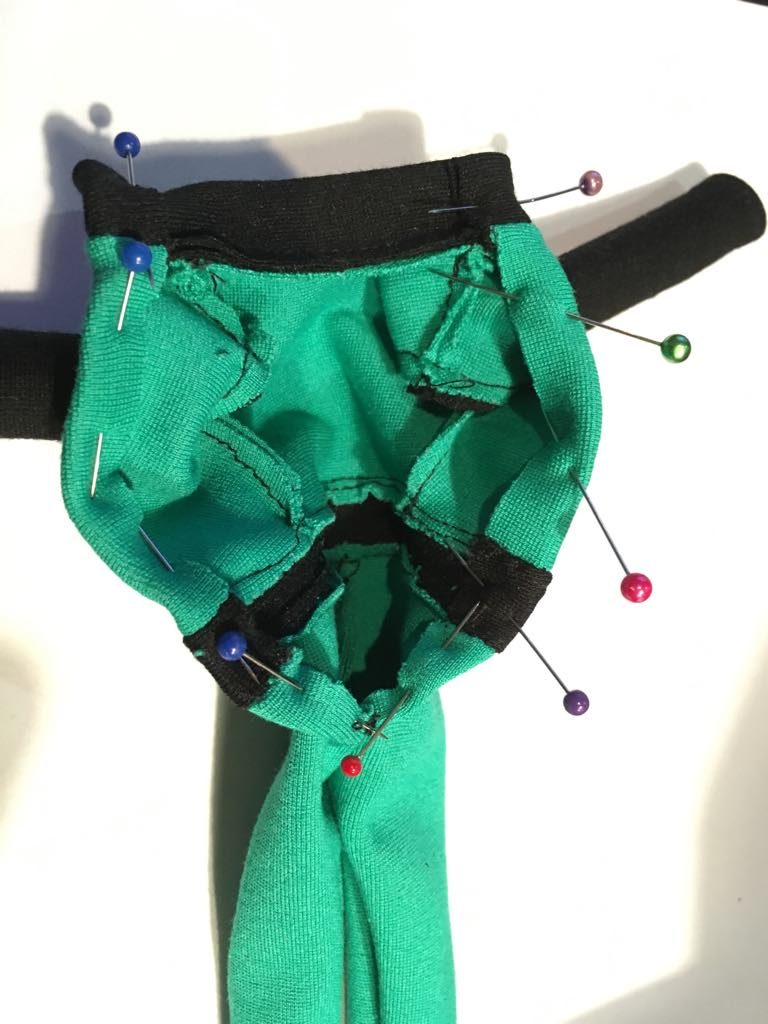
Step 19: You might want to extend the rear crotch seam to avoid giving the doll a “plumbers crack”.
Step 20: Add snap buttons, buttons, hooks, velcro/hook-and-loop to close the suit. You could add a zipper, but it will be very tricky to sew. 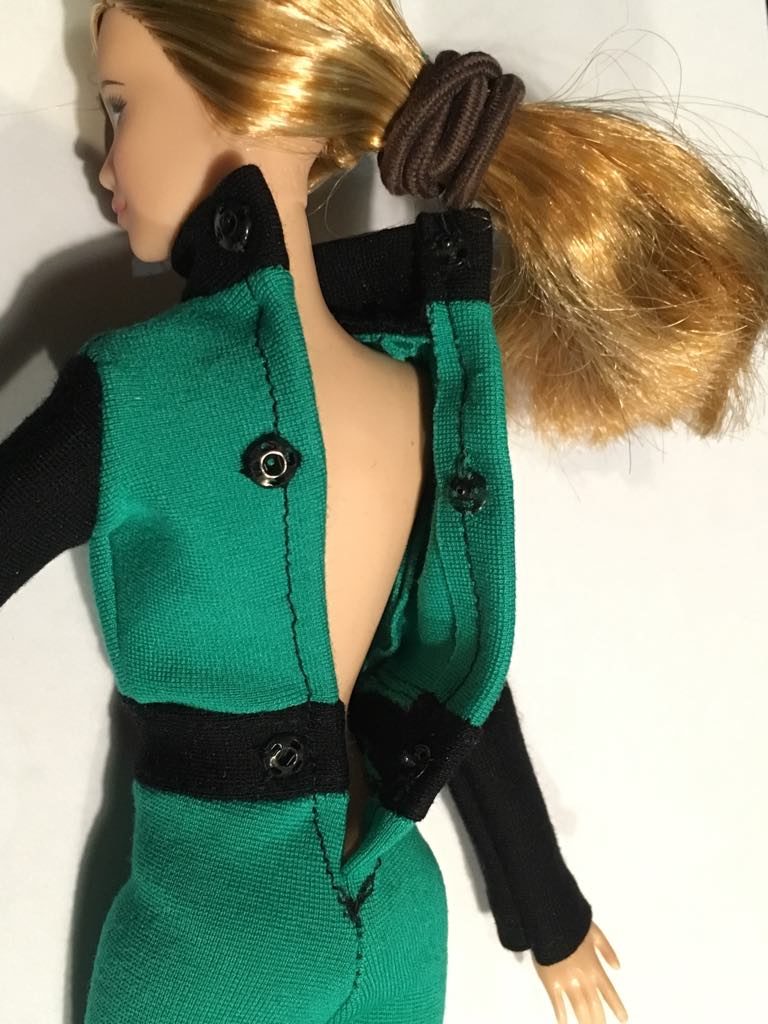
Step 21: You are done!
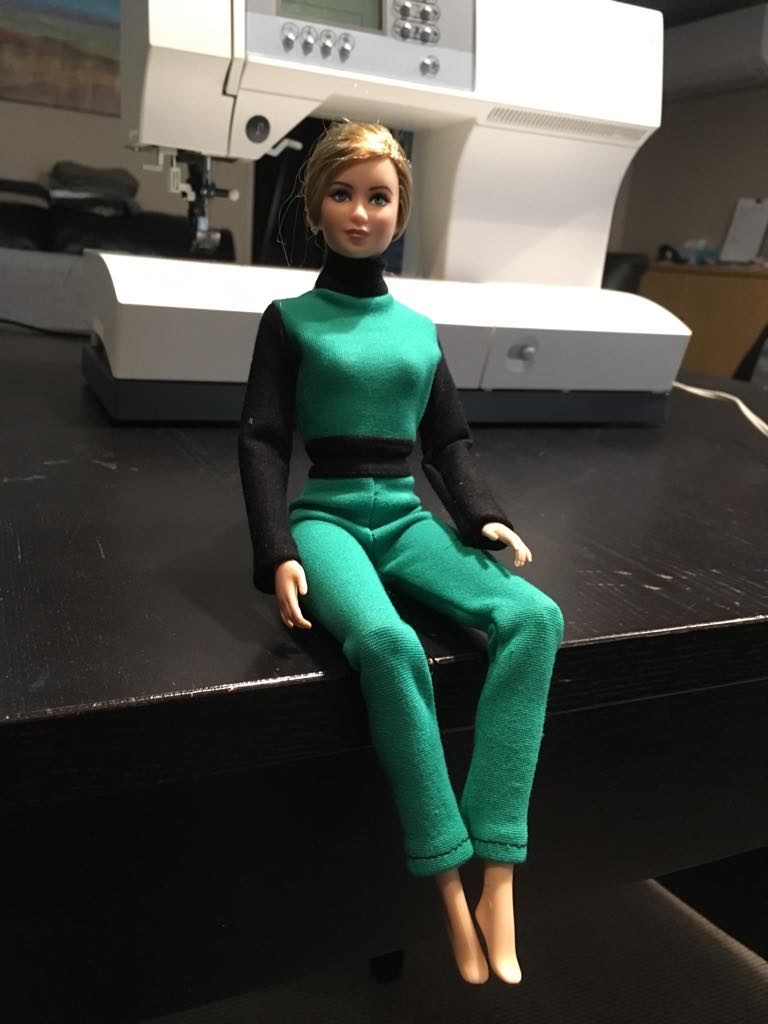
Step 22: Add the 3D printed helmet (it is probably done by now), and dig out some suitable shoes or boots from that pile of doll clothing. The doll to the right is a regular Made-to-Move Barbie®, while the doll to the left is a Barbie® Divergent Collectible. Both of these dolls have jointed elbows, knees, and wrists, but the Divergent one has a slightly smaller head. 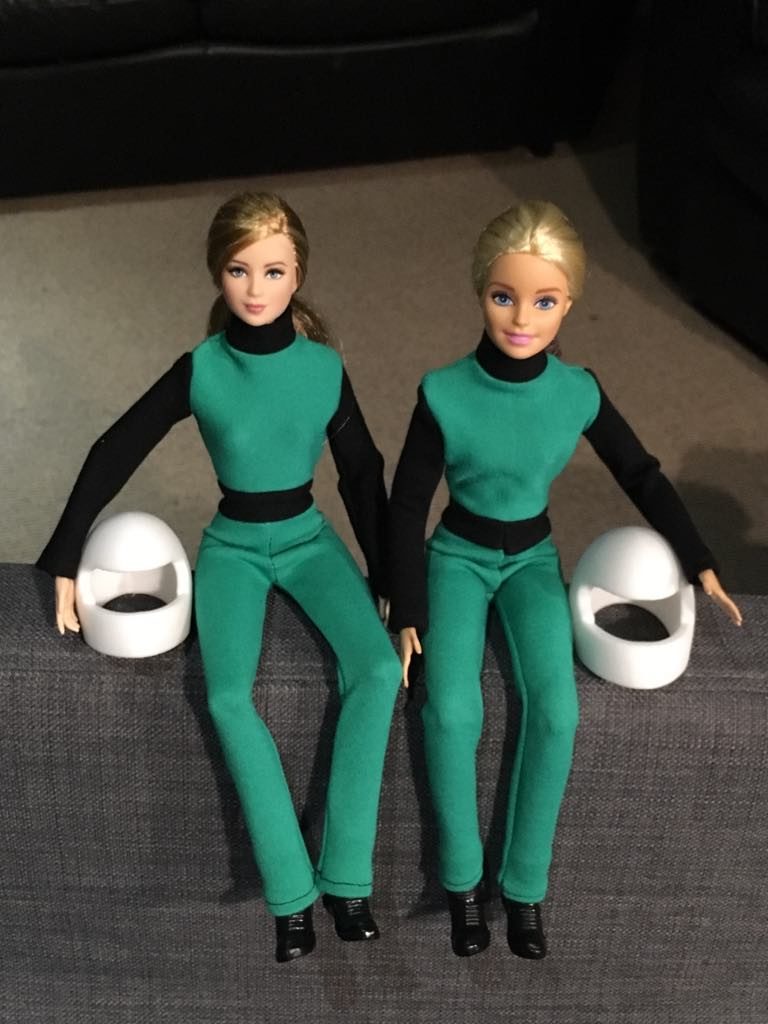
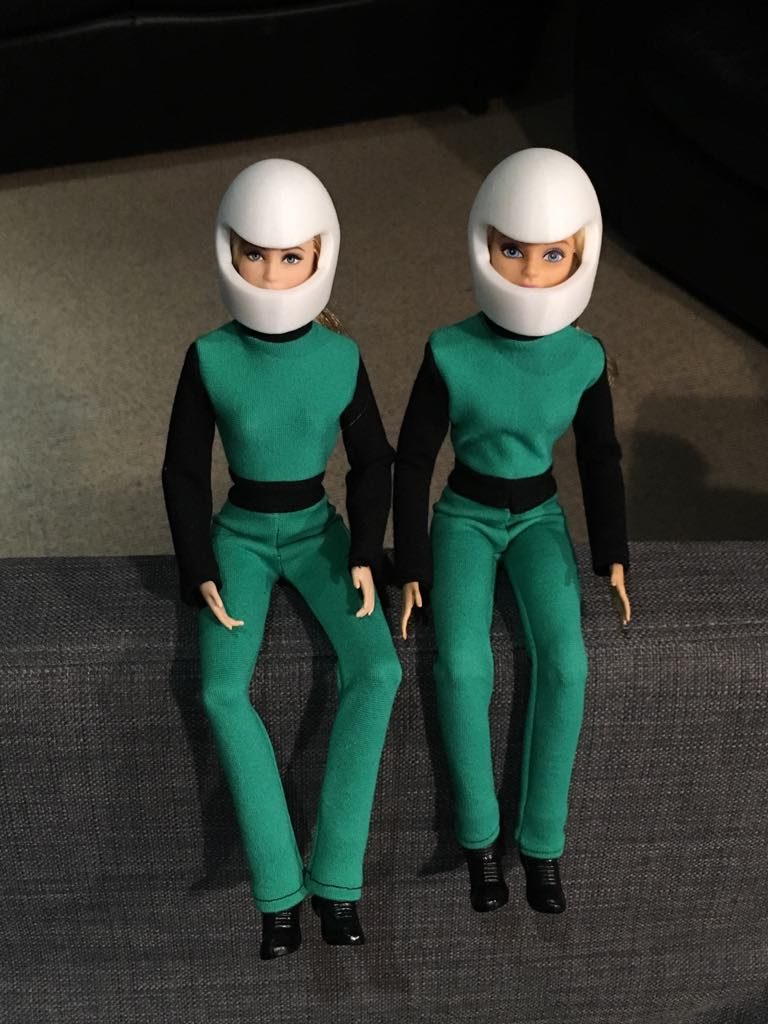
Enjoy your racing doll! 🙂
These products are not endorsed by Barbie® or Mattel®. They are not suitable for children under 3 years due to small parts.
The racing helmets and racing suit are licensed under the Creative Commons – Attribution – Non-Commercial – Share Alike license.