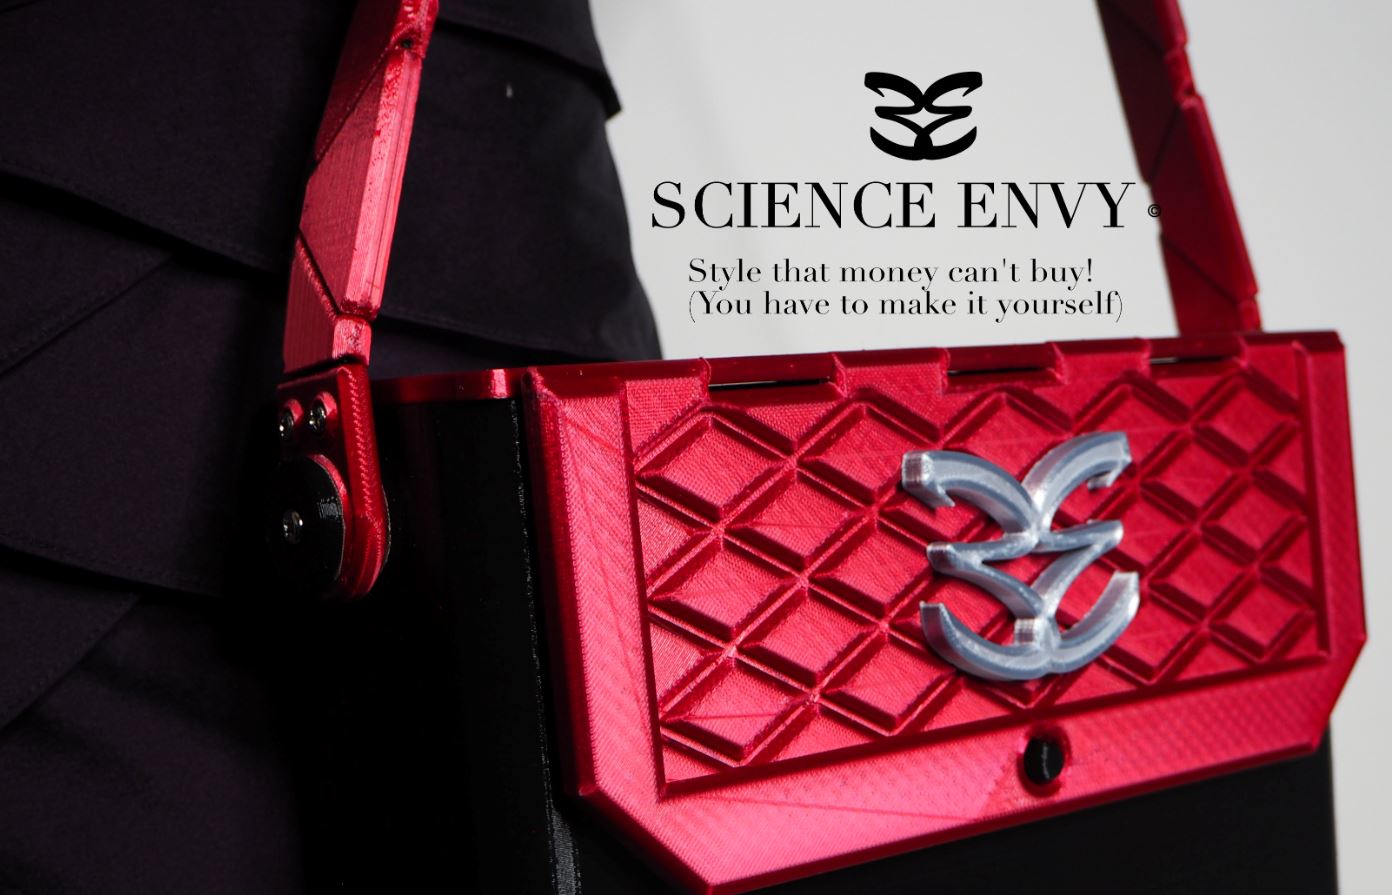
Have you always wanted a fancy designer handbag? But you don’t have the thousands of dollars to spend on a Chanel® or Louis Vuitton®? Here is the solution – 3D print your own! And by doing so, you can make it exactly as you want!
I bought dozens of fancy (and too expensive) designer handbags, but never found one I loved. There was always something I didn’t like. After being disappointed too many times, I simply designed my own in CAD (Computer Aided Design) and 3D printed it! I also installed LED lights in it, because I was tired of never finding the keys when I came home in the evening.
Don’t just dream about it. Make it!
Download the files, and start printing!
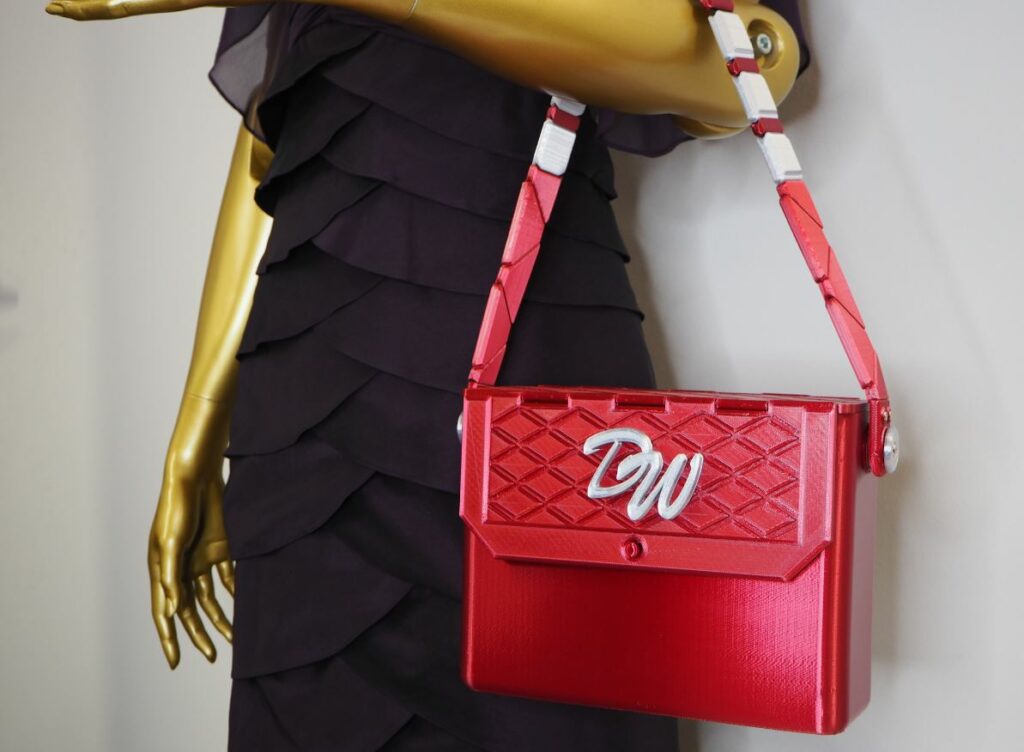
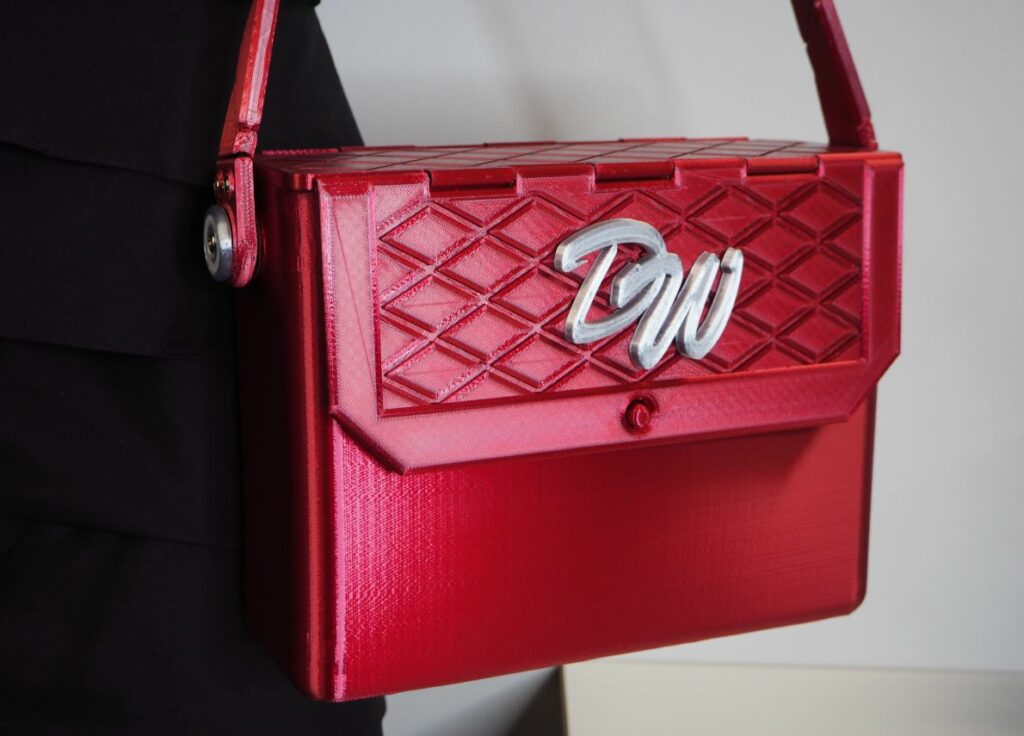
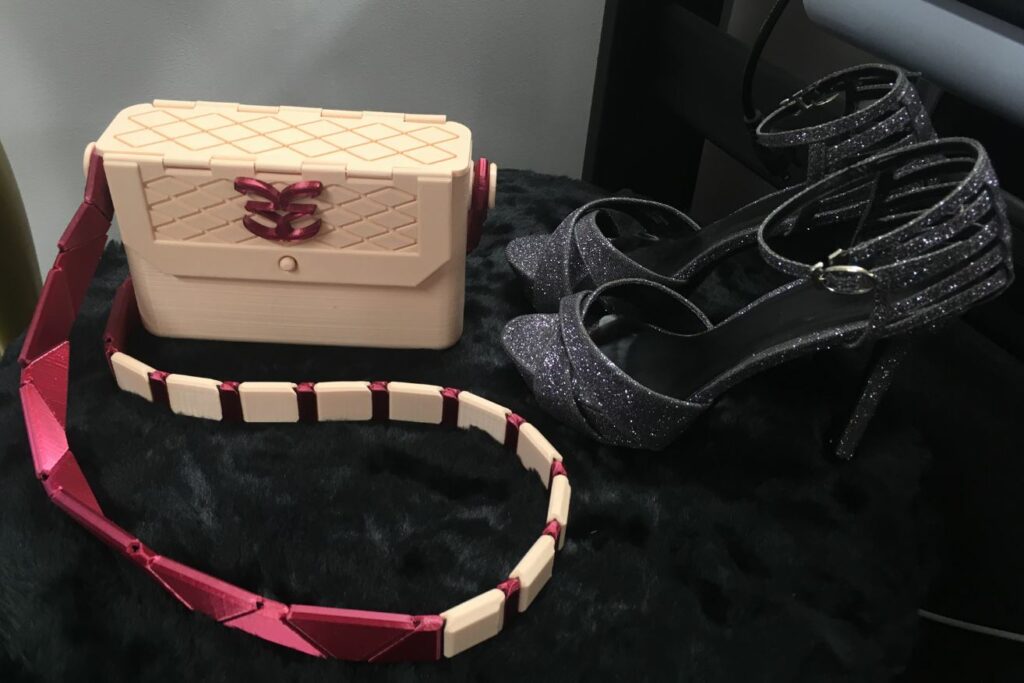
The 3D printing (STL) files for the medium sized bag on the photo above are downloadable for the nominal cost of $15 from from my webstore here (I will email you the files within 24 hours). The medium sized handbag on the cover photo is approximately 230 mm by 170 mm by 80 mm (9″ by 6.5″ by 3″). I also have a smaller one (190 mm by 120 mm by 55 mm) and a larger one (265 mm by 195 mm by 95 mm).
The bag is designed to be printed on a consumer grade printer in all rigid material. The small bag can be printed on a Creality Ender-3, the medium sized on a Prusa, and the large one on a LulzBot.

Detailed tutorials make the printing and assembly a breeze!
Not only is this design proven to print well and wear well, I have also made detailed tutorials and instructions how to print and assemble it. Three detailed video tutorials, 20-30 minutes long, will guide you through the manufacturing of the LED light, the very fancy strap, and the final assembly of the bag. If you can use a screw driver, you can do it! Click on the images below to get to the video tutorials on YouTube. (Printer settings are found further down on this page).
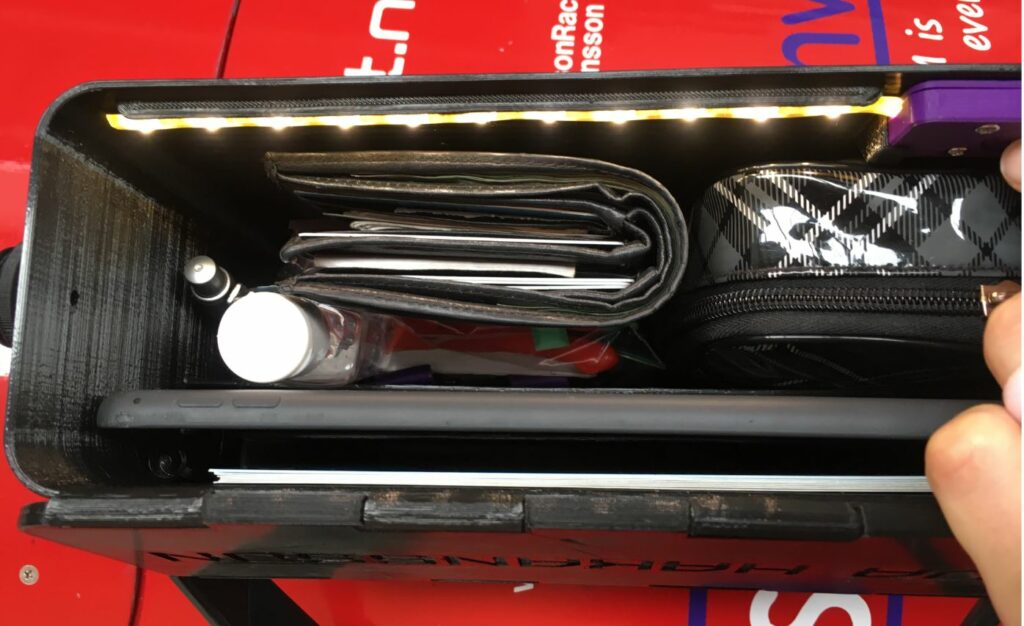
LED light in your bag – the best thing since sliced bread!
I can’t for my life understand why not all handbags come with lights – it is so useful! No more digging for the house keys in the dark. The assembly of the light takes minimal skills, but you do need to have access to a soldering iron. If you don’t have one yourself, I bet one of your friends do. Or visit a local maker space; they will for sure have one. You can see below that it is very easy to assemble!
Download the instructions as PDF here, and have them handy as you watch the YouTube tutorial.

Print the LED holder in the orientation shown below. Don’t use support. No brim is preferred. Print with at least two wall lines and four top and bottom layers.
Take care when you remove it from the bed so you don’t break the spring that holds the button.

Print the body – 100 % infill!
Note: The body must be printed 100 % infill. This means that it is solid instead of having honeycomb inside the studs. If you don’t have 100 % infill, the studs will not be strong enough for carry the weight of the bag.
Printer settings and material
Material: My favorite 3D printing material (filament) is toughened PLA (also called PLA+ or PLA PRO). It is bio-based (made from corn starch) and prints beautifully. It is a strong and rugged material, the only drawback is the relatively low softening temperature; if you choose this material, don’t leave the bag in a hot car during the summer, it may become deformed.
I print PLA+ with 220°C nozzle temperature and 60°C bed temperature.
Layer height: Any. I typically print with 0.2 mm layer height, but thicker layers will cut down the print time.
Infill body: 100 % for the body.
Infill for all other parts: Your choice, but ~35 % typically works well. The more infill, the stronger (but heavier) the bag will be.
Wall layers, top layers, bottom layers for the lids: Use several (at least 3-4) outer wall layers, and at least 5 top and bottom layers for the lids to make sure the hinges become strong enough.
Infill and layers for the strap: More detailed settings for the strap parts are found below.
Supports: No.
Brim: Yes for the body (at least 10 lines). No for the lid parts. Recommended for the strap scales, as they may not stay on the bed without them.
Print time: Depends on your printer, but expect several days of total printing time.
Other parts you need:
Screws: 2x M4 10 mm long (for hold on the strap), 8x M3 6 mm long (2x for the logo, 4x for the strap, 2x for the LED light). Imperial sized alternatives would be 8-32 and 5-40 respectively. 6-32 is a possible alternative but you have to drill up the holes a tiny bit. Plated steel or stainless steel. You could probably use aluminium screws as well, but I haven’t tried it.
Synthetic webbing: 20 mm wide and ~1.1 mm thick synthetic, woven webbing. (More information in the section about the strap assembly.)
Steel wire: 35-50 cm (1-1.5 ft) of #16 gauge or 1.6 mm galvanized steel wire or stainless steel wire for the hinges. Can be bought in most hardware stores, farming stores, or well-stocked department stores. You can use a 1.75 mm PLA+ (not regular PLA), PETG, ABS as an emergency solution, but it will be a bit loose.
Tiny bit of glue: You need to put a little bit of glue (silicone, polyurethane, or other glue) in the ends of the hinges, otherwise the steel wire will walk out over time and snag on your clothing. Transparent glue is preferred.
Soldering iron: You need a soldering iron with a pointy tip to make the holes in the strap for the screws. If you try to assemble strap without making holes, you will strip out the threads in the holes and the whole thing will fall apart. You will also need the soldering iron and solder to assemble the LED light.
Tools: Wire cutter, wire stripper, screw driver, tools to trim the 3D prints, lighter to melt the end of the strap, sharp pair of scissors, ultra-fine point marker pen with white, silver, gold or other color that will write on black. White correction fluid will also work. See the video tutorials for exactly what you need.
LED strip: LED strip for ~6V (do not use a 12 V strip, it will likely not work). Waterproof (with soft rubber upper), approximately 8 mm wide. The regular size of bag takes ~110 mm, but most LED strips can be cut. Comes in all different colours, including pink and purple.
Batteries: 2x CR2016 coin battery cell.
Wire: ~100 mm of thin electric wire.
Mounting tape: To stick the LED strip to the side of the bag.
Safety equipment: Safety glasses.
Deciding the length of the strap
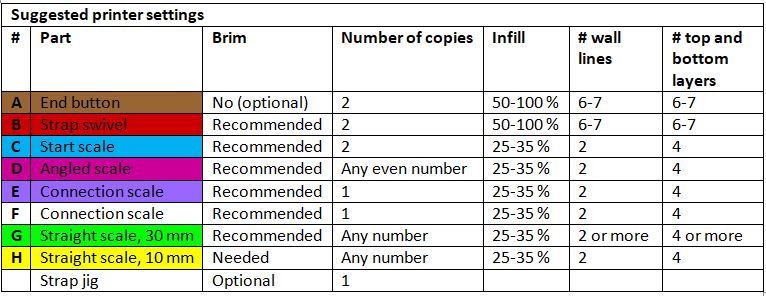
The strap is made up of 7 different pieces, plus the end buttons. You adjust the length of the strap by adjusting the number of D, G, and H pieces (see photo below). The strap pieces – or “scales” as I call them – are designed to nest and will move nicely when you move. Note that E and F are slightly different. However, using two Es or two Fs isn’t the end of the world – nobody will likely notice it.

The number of D, G, and H pieces will determine the length the strap. I found that 20 D-scales (10 on each side), 10 H-scales, and 9-G-scales makes the correct length for a cross-body strap for me (I am 5’2″/158 cm). In addition to that, you will need 2x of A, 2x of B, 2x of C, 1x of E, and 1x F, as well as one “Hole jig” (you will understand what this is when you watch the video tutorial).
Printing the strap pieces
The table below shows suggested printer settings for the strap pieces. The number of wall lines is the minimum recommended number. Your print may come out better with more wall lines.
Print orientation:
The strap pieces need to be printed in the following orientations:
Part A (end button) (2x):
Make sure the counterbore (the indentation where the screw head will rest) is pointing upwards. Brim is not needed, but skirt is recommended.
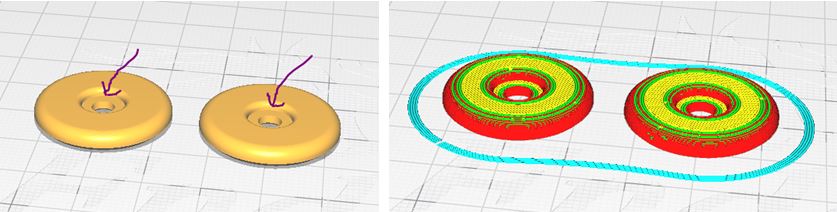
Part B (swivel) (2x):
Must lay flat on the surface pointed about by the arrow.
Incorrect printing orientation:

If your slicer software doesn’t automatically place it on the correct surface, you can accomplish the correct printing orientation by using the “lay flat” command.

Watch out for this orientation – it is a possible orientation if you use the Cura lay flat command. If this happens – the easiest may be to clear the bed, import the part again, and try again.

Use the “Layer view” to ensure it lays flat; you can see the brim correctly around the bottom surface.

The correct orientation is also clearly visible from underneath.

Note: You may want to print one of the swivels as a mirror copy. This way you have both swivels show the top printed surface (or the bottom printed surface) towards the front of the bag. If you don’t mirror one of the swivels, one will show the top surface and one will show the bottom surface on the front of the bag.
If you use Cura, select one of the two parts, and click the Mirror command. Then choose the X or Y direction.

Note that the swivel (and the End button – Part A) should be printed with much thicker walls and heaver infill than the other parts as they carry the entire mass of the handbag and its contents. See the table for suggested settings.
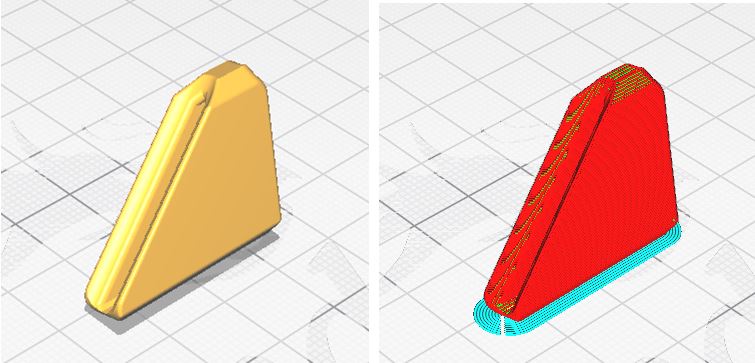
Part C (start strap scale) (2x):
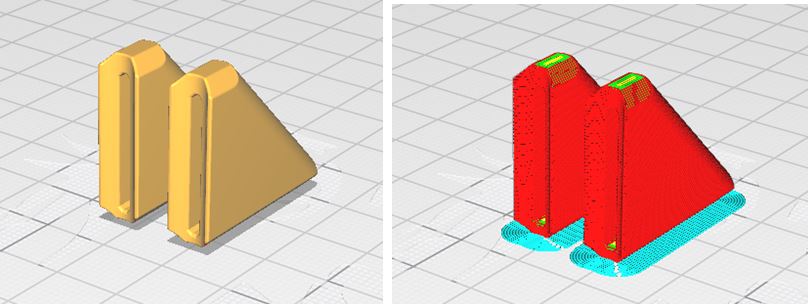
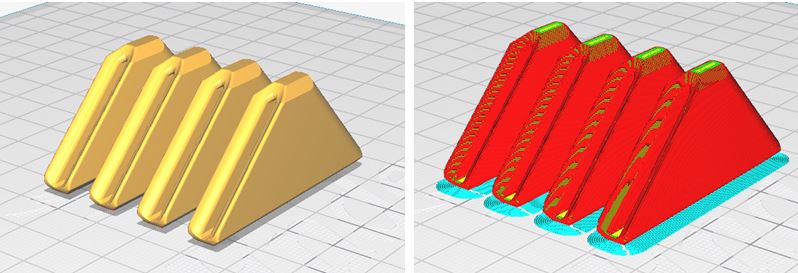
Part D (angled scale) (any even number):
Part E (Connection scale) (1x):
Note that there are two different types of connecting scales (Part E and Part F) – you will need one of each. Part E has a concave (female) shape on both ends, while part F has a concave (female) shape on the angled side, but a convex (male) shape on the straight end. However, if you accidentally use two Es or two Fs, nobody will ever notice.
Part F (Connecting scale) (1x):
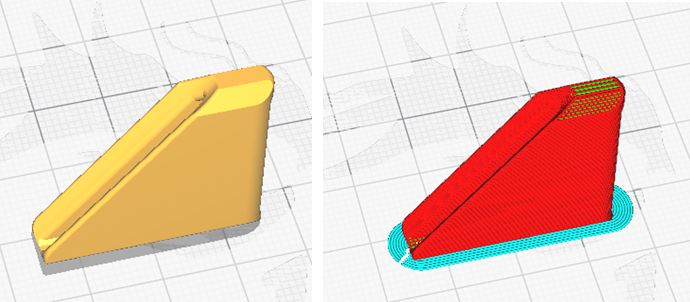
Part G (straight scale, 30 mm):
Note that there are two varieties of this part – with or without “hump”. You can see both styles below. Which one you want to use is totally up to you. I usually use the “hump” version.

Part H (straight scale, 10 mm):

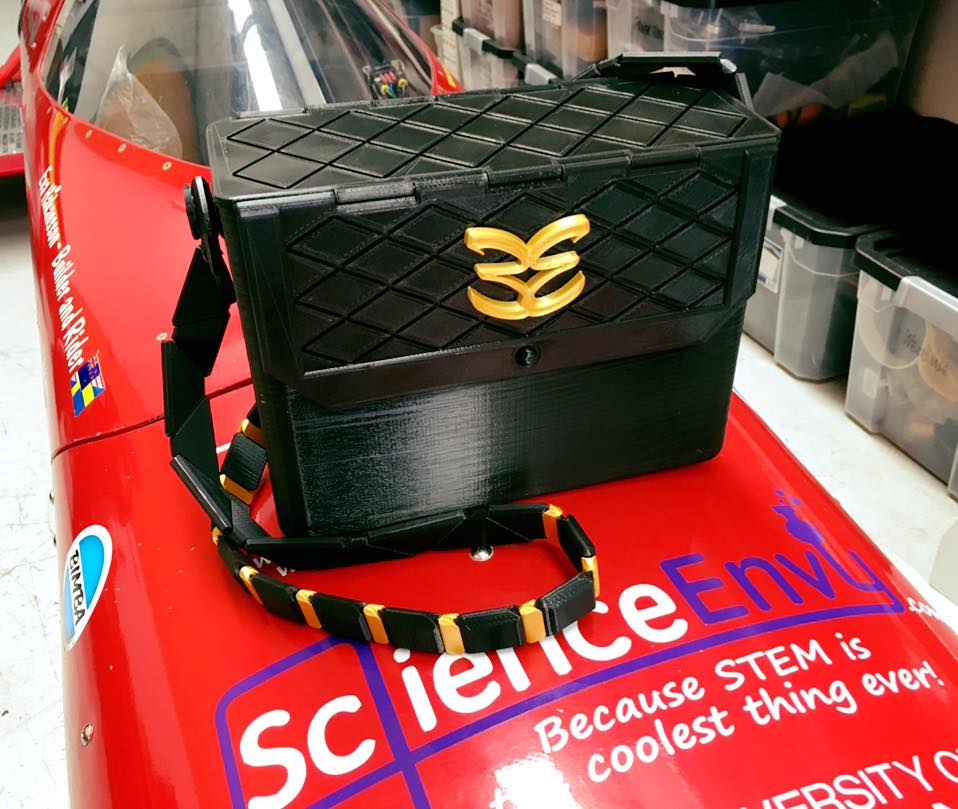
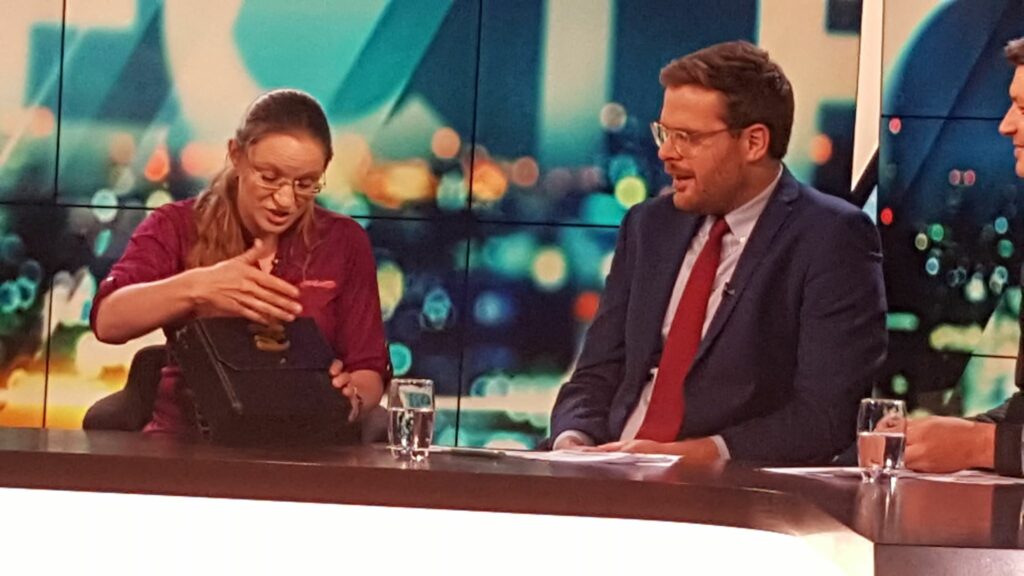
As seen on TV!
In November 2018 I was invited to the national TV show “The Project” here in New Zealand. I was invited to talk about my electric racing (read more on www.GreenEnvyRacing.com), but we ended up talking mostly about my 3D printed bag! 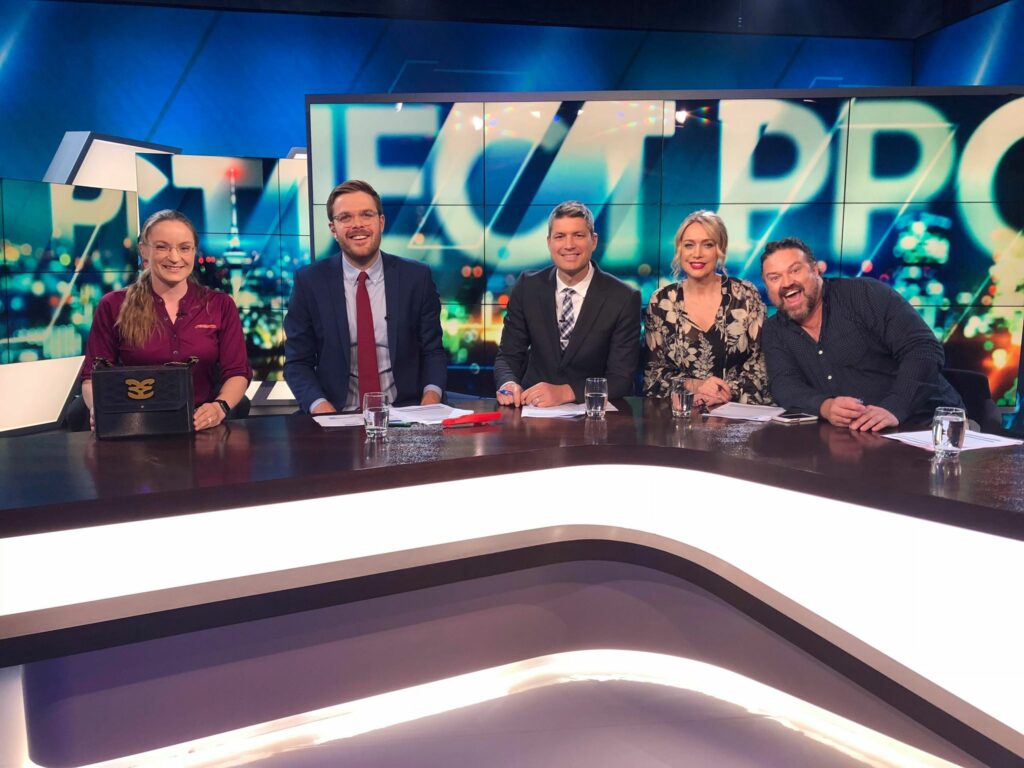
Need more help?
Don’t worry, detailed instructions with suggested printer settings, material selection, and other things you need to know will be provided with the files.
Want it really custom?
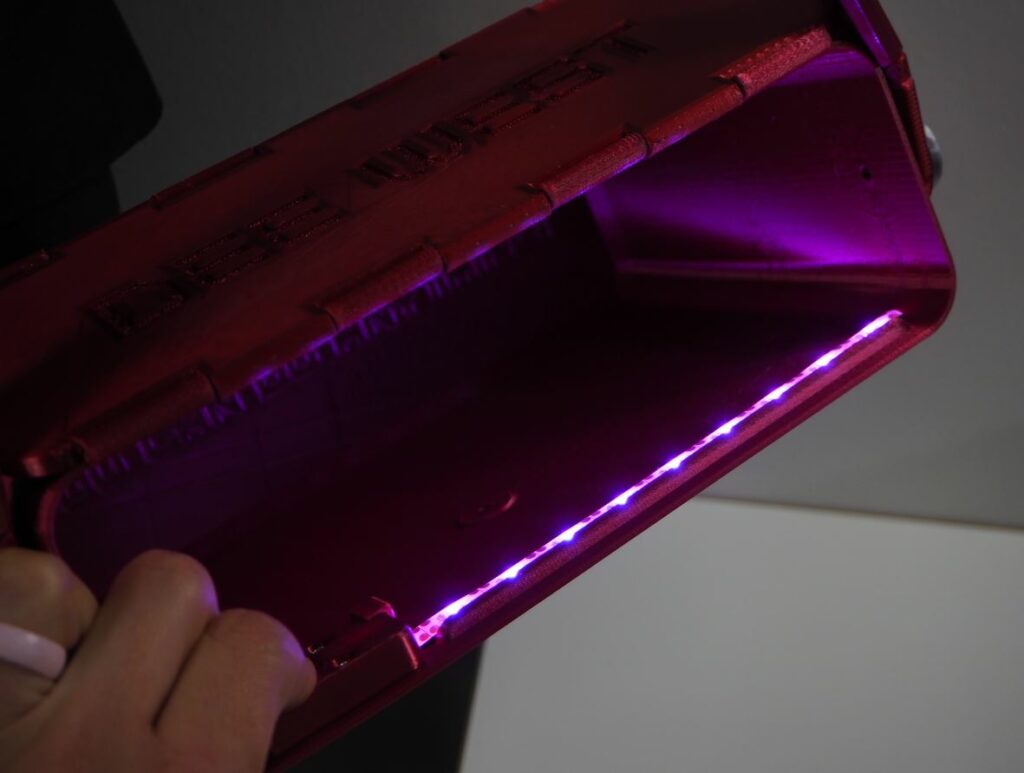
Want a very specific size, or your own logo? Or both? And your name on the inside. I can do that all at a small additional cost of US $100. Just ask! I designed the bag below for my friend Dee West, complete with pink LEDs. 🙂 If you want me to also send you a kit with the LED strip, wire, webbing, screws, and steel wire, I’d be more than happy to do that for US $50 (battery cells would not be included due to shipping restrictions).