Posted April 22, 2019
I love to give away Easter Eggs, but I think the ones in the stores are both boring and expensive. For the last few years, I have made my own with 3D printing.
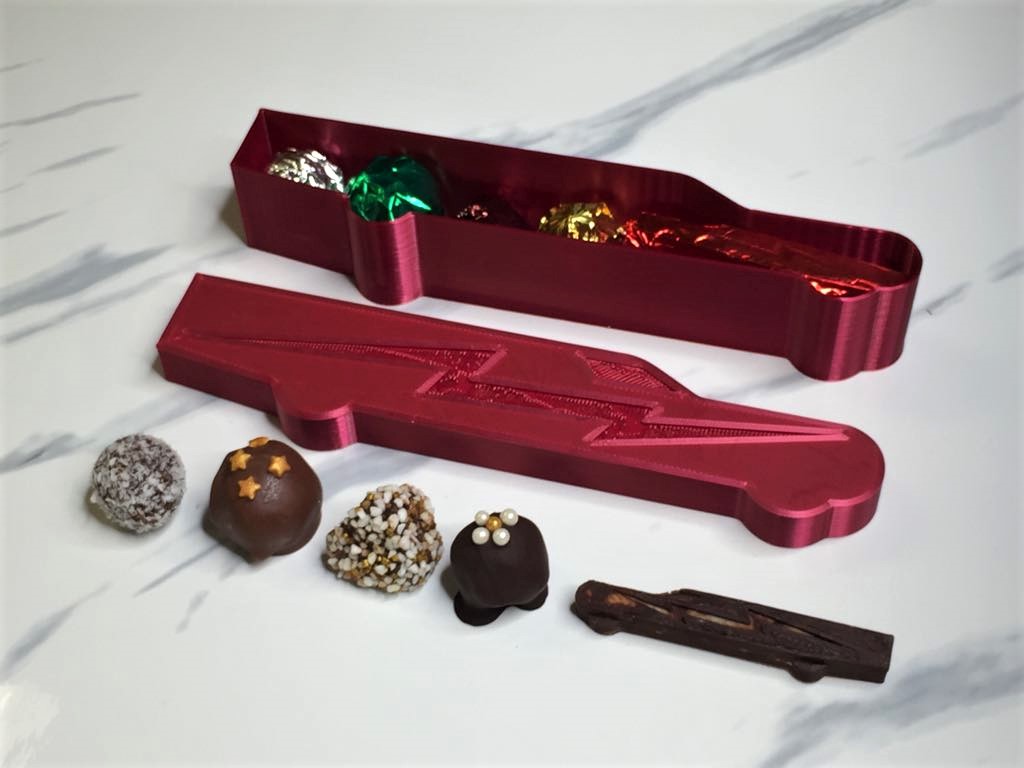
This year’s “egg” features the KillaJoule (of course!) and has room for homemade treats (or store bought candy, if you prefer that). It isn’t really an “egg”, but rather a streamliner shaped container. That makes it a perfect gift no matter what you celebrate – Easter, Spring (if you are in the Northern hemisphere), Autumn (if you are in the Southern hemisphere) Passover, Ridvan, Qing Ming, National Tartan Day, ANZAC Day, Day of Silence or any of the other holidays around the world that happens this time of the year.
Print the Easter Egg
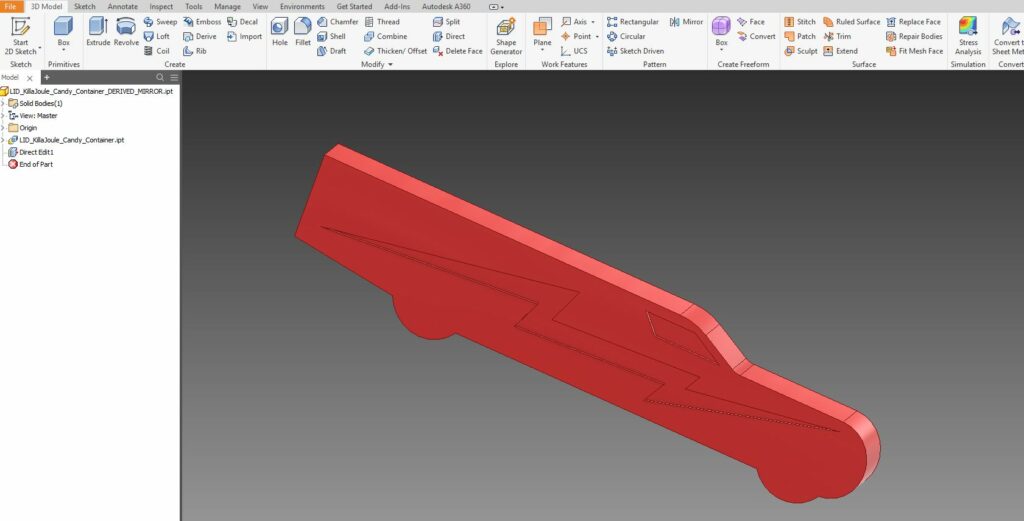
The trick to printing the hollow egg is purely in the 3D printer settings. I have printed my eggs on my Creality Ender 3 (review here) and on my Lulzbot Taz 5, and I “sliced” the 3D file using the free, open-source software Cura. My Creality Ender 3 currently has a 0.35 mm nozzle, while the TAZ 5 has a 0.6 mm nozzle. Either will work fine, but will generate slightly different wall thickness using the settings below.
But first, you need to download the files. You will find the solid models for the Easter egg in STL format HERE (zip-folder – save it to your computer, then right-click and say “Extract All” to get the files).
Here is a suggestion for settings, but you might have to try different settings until you find what works for your specific printer.
Layer height: 0.2 mm
Wall line count: 2 (depending on your nozzle size, you might want to go for 3)
Top Layers: 0 (zero!)
Bottom layers: 4-6 (depending on your layer thickness)
Infill: 0 % (zero!)
Build plate adhesion type: Skirt
Material: PLA
You can also use the setting “Spiralize outer contour” or “Vase mode” where the printer automatically only printer the outer wall, but my prints came out better with the settings above.

Make the treats
I think homemade treats are the best, and if you want to make your own, I recommend these quick creations. The basic form is super quick to make, but you can make them very elaborate if you want to as well.
No-bake Oat and Cocoa balls
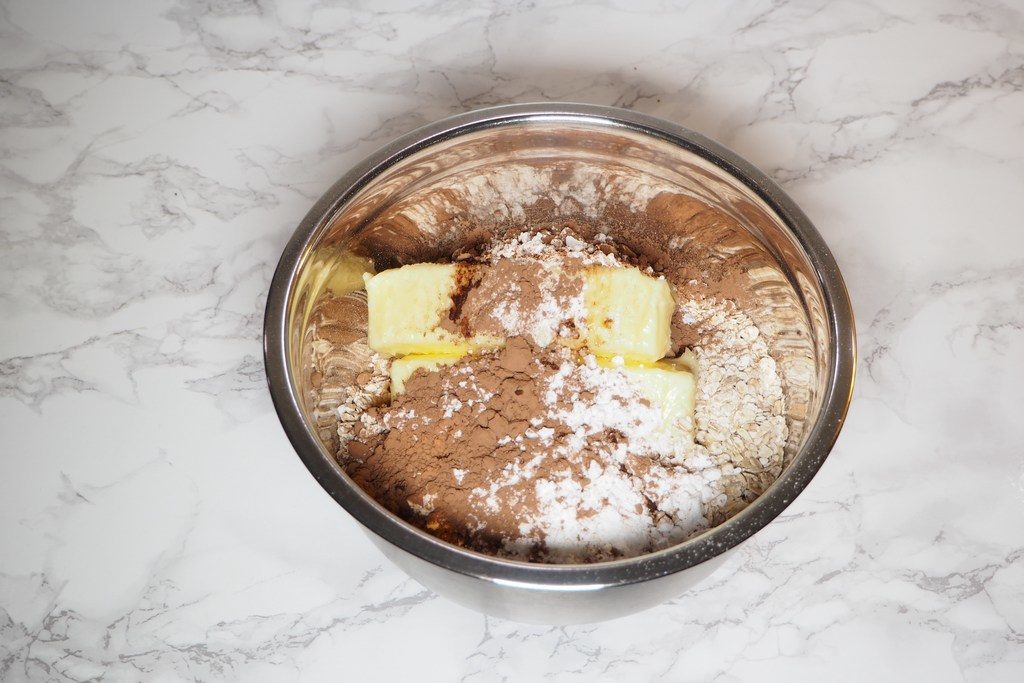
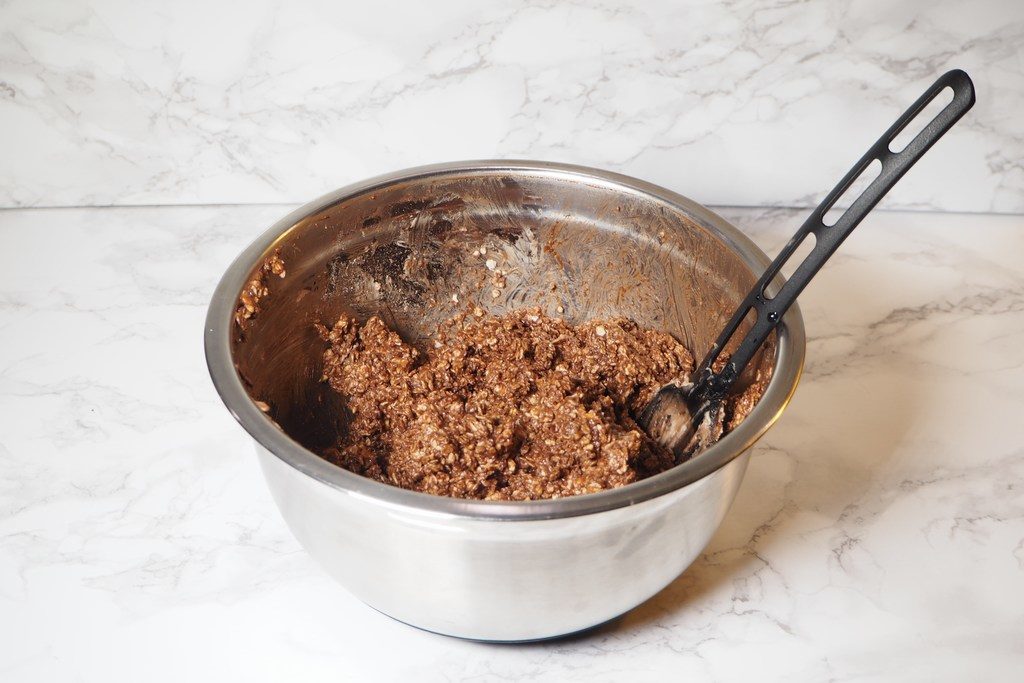
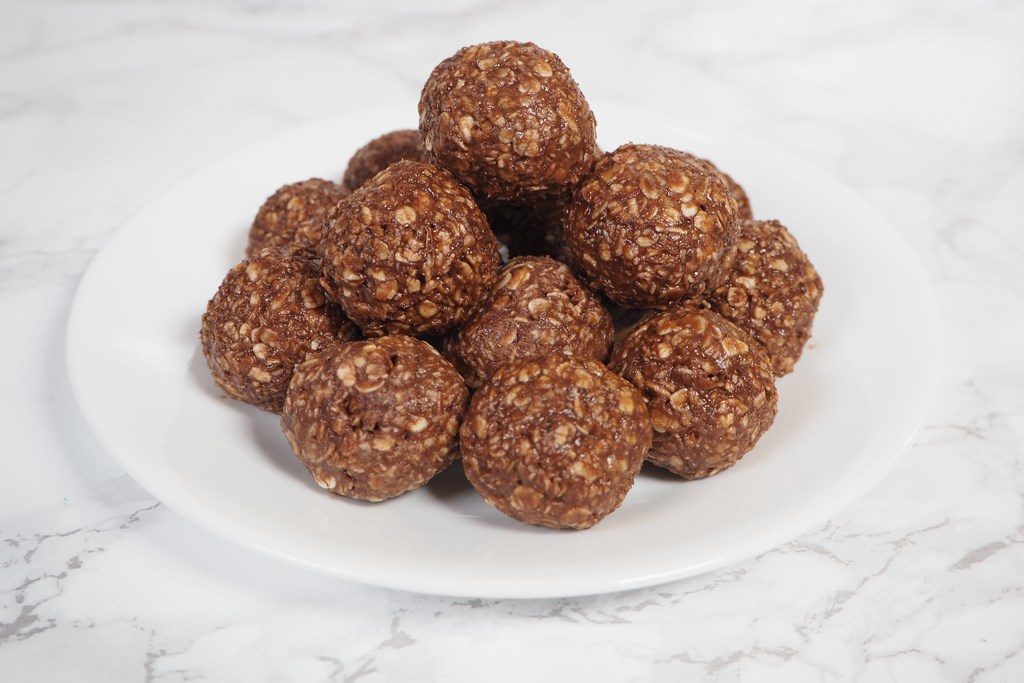
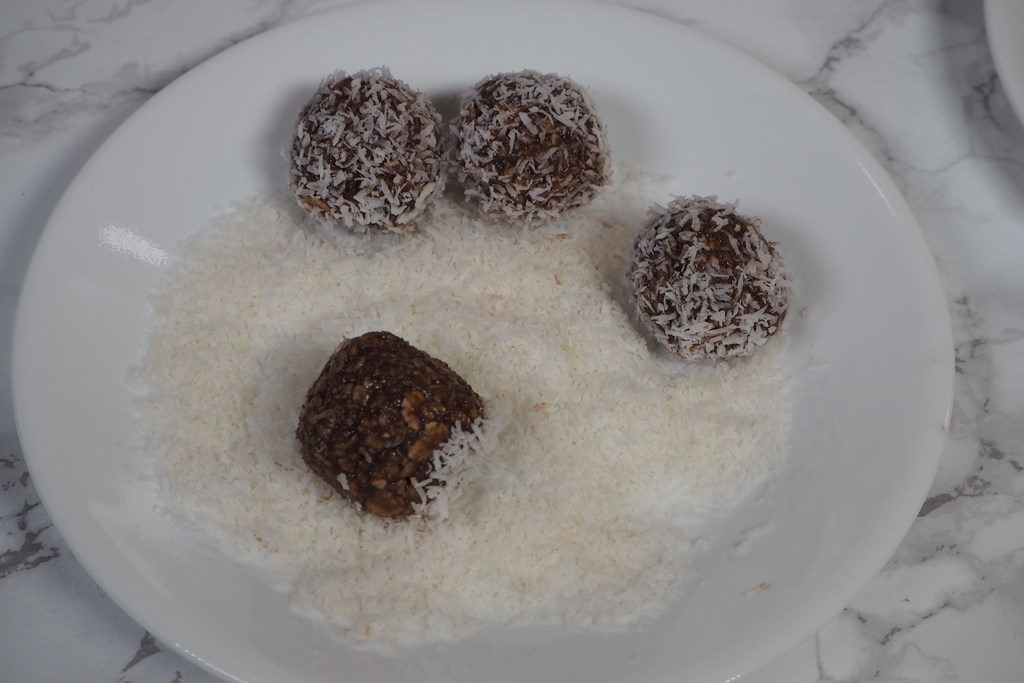
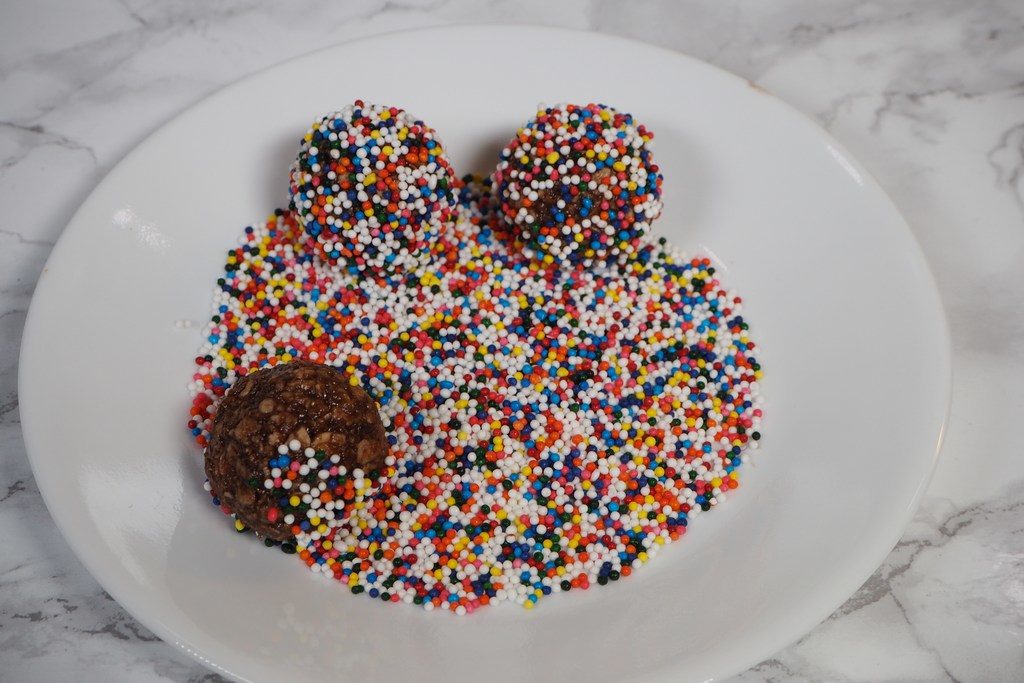
Super simple and super quick Oat and Cocoa Balls is the perfect treat of gift. Just mix all ingredients in a bowl and shape into balls with your hands. Chill and serve. This is the base for the treats shown in the cover photo. It is optional to roll them in sprinkles, shredded coconut, or anything else you can think of, but they are darn good as they are as well.
I always choose organic, local and/or fair trade ingredients if I can, but that I of course a personal preference. If you want a low-sugar option, substitute some or all the sugar for stevia.
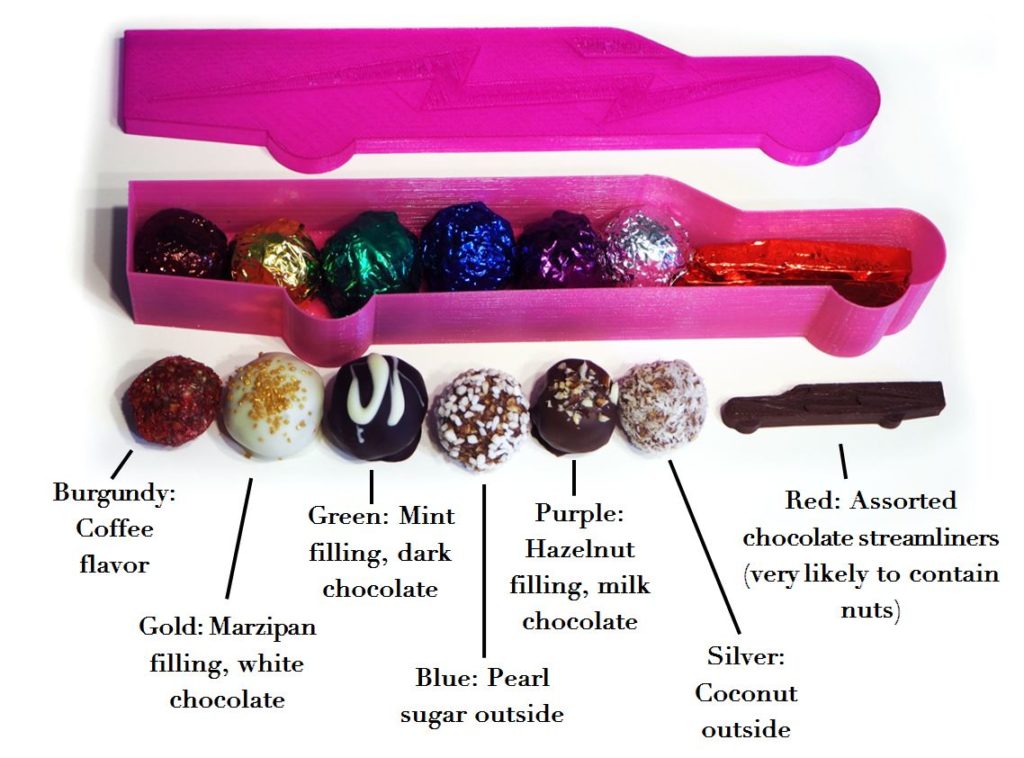
The below two photos shows two varieties of the KillaJoule Easter Egg. I made the smaller version this year, and I made the larger version a few years ago. The “filled” varieties has either a Junior Mint candy or a whole hazelnut in the center. The ones with chocolate cover are just simply dipped in melted chocolate and then sprinkles added on top before the chocolate solidifies.
The easiest way is the melt the chocolate in the microwave, but be careful so you don’t burn it. Run it for maximum 60 seconds at the time, then stir and heat again. I discovered this year that some white chocolate cannot be melted, it just caramelizes and then burns instead. That’s the reason that this year’s egg doesn’t have any treats dipped in white chocolate… If you melt white chocolate, make sure to also has something else in the microwave when you melt it, such as 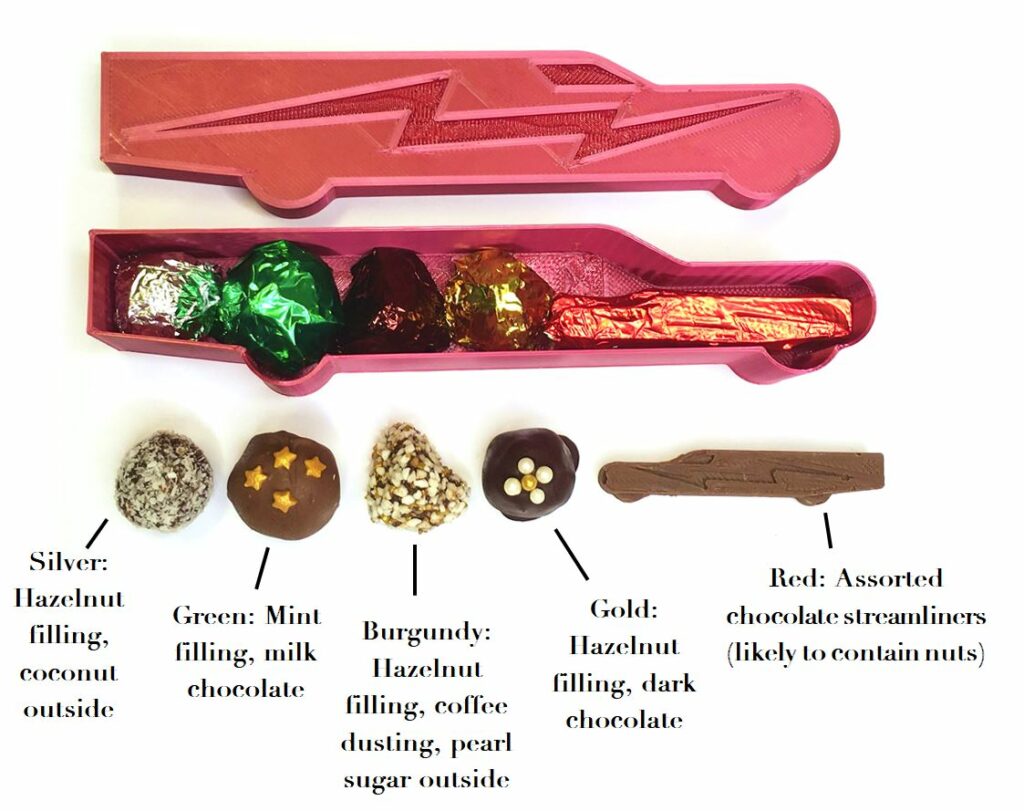
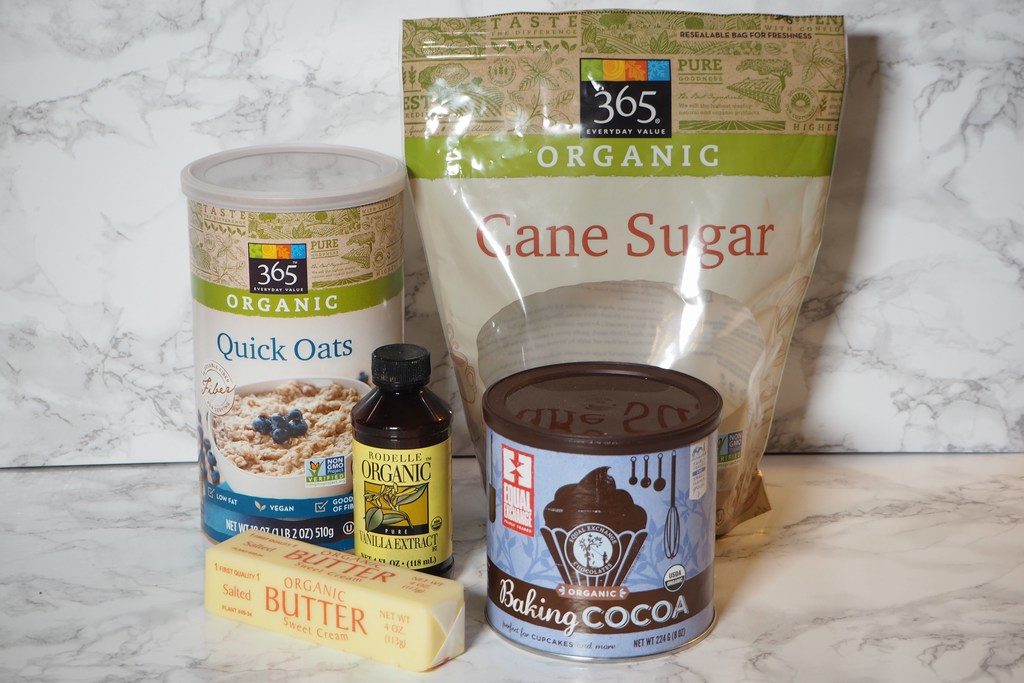
Ingredients for ~20 balls, about 1.25 inch (30 mm) in diameter:
Metric units:
100 g butter at room temperature
0.5-1 dl sugar, granulated or powered (the amount depends on your personal preference)
2 tablespoons of cocoa powder
4 dl rolled oats (quick or regular)
1-2 tablespoons of water
Imperial units:
4 oz butter at room temperature
0.25-0.5 cups sugar, granulated or powered (the amount depends on your personal preference)
2 tablespoons of cocoa powder
1.5 cups rolled oats (quick or regular)
1-2 tablespoons of water
Optional flavoring, such as vanilla or coffee (or liquor for an adult version). The ones in the cover photo had 1 table spoon of liquid vanilla per batch. The coffee ones had one table spoon of instant coffee (dissolved in a small amount of hot water) per batch in addition to the vanilla. Several of the ones shown in the cover photo were also filled or dipped. Here are the additional recipes:
- Burgundy: One table spoon of instant coffee, dissolved in a small amount of hot water, per batch.
- Gold: Formed a ball of marzipan, and surrounded it with the dough. Placed them in the fridge until hard, then quickly dipped in melted white chocolate, placed on tray covered in parchment/baking paper, and sprinkled “gold” sprinkles on top.
- Green: Same idea, but a junior mint in the center, dipped in dark chocolate, and white chocolate stripes on top.
- Blue: Just rolled in “pearl sugar” (can be hard to find, a Scandinavian specialty).
- Purple: Hazelnut in the center, dipped in milk chocolate, and chopped hazelnuts on top.
- Silver: Just rolled in shredded coconut.
Note: a scientifically minded person will notice that the amounts are not identical in metric and imperial units. The recipe is very flexible, and you can adjust the amounts based on your personal preferences.
Step-by-step instructions:
Prefer a printed version? Download the instructions as PDF here for easy printing:

You can also find this recipe – and the recipe for KillaJoule gingerbread cookies – on my Baking & Cooking page HERE.