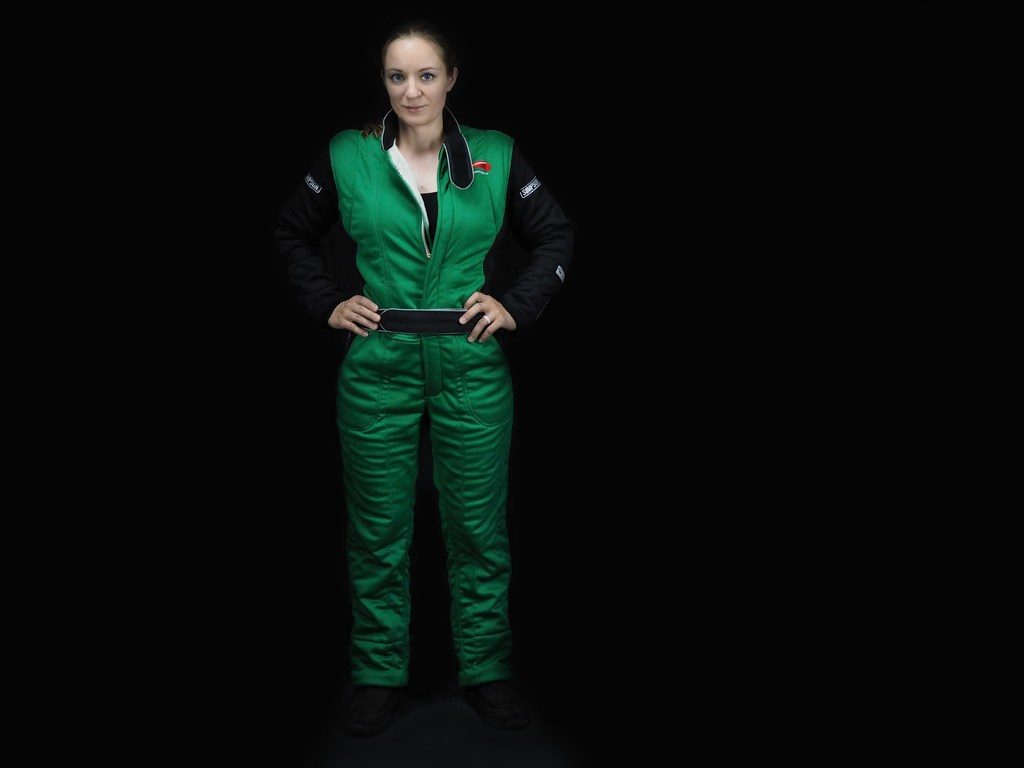
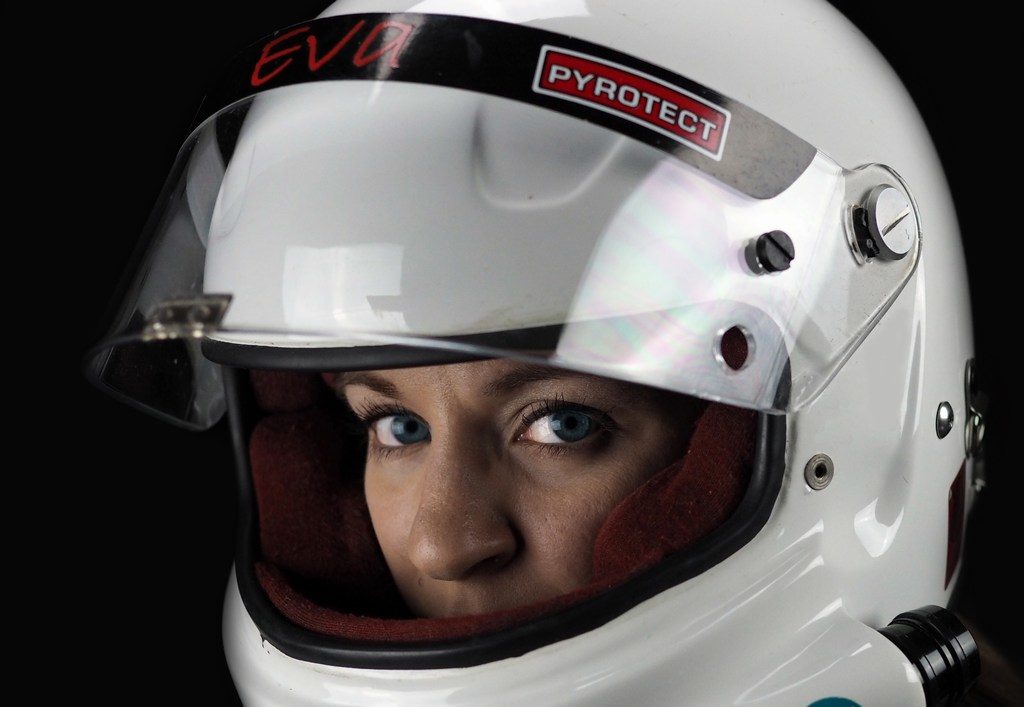
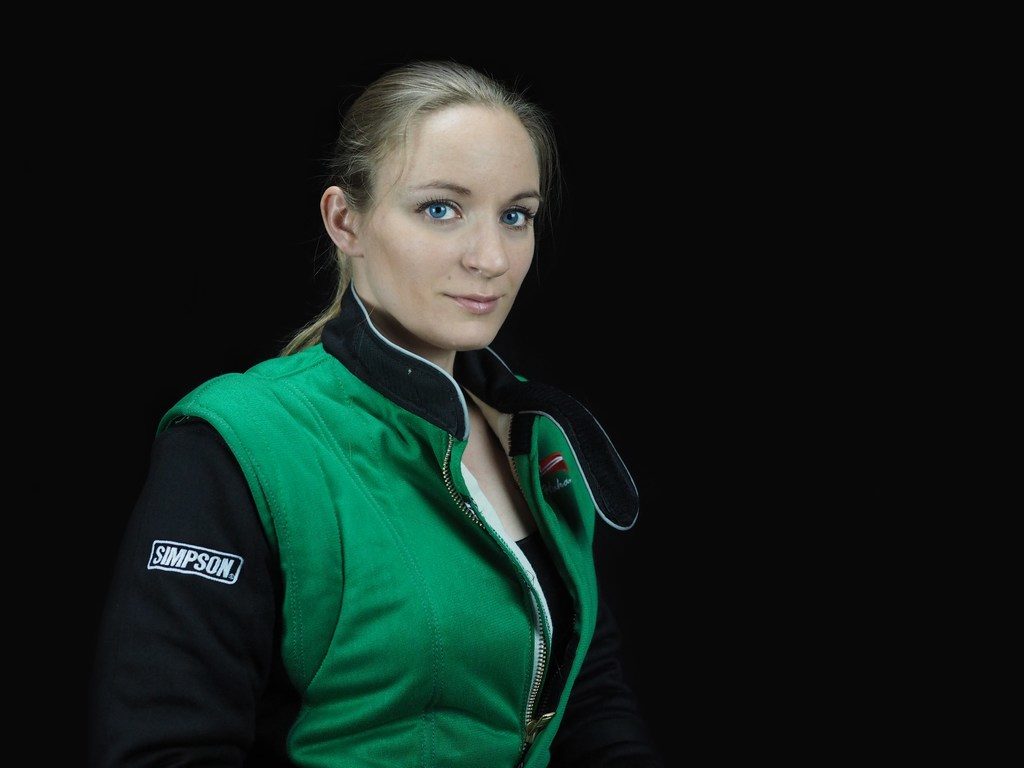
Posted August 5, 2016
Even if you are an engineer with thick glasses (like myself), a science geek, or just a completely normal person, we all like to have nice photos of ourselves. Hiring a professional photographer can be both quite expensive and intimidating. The solution: build your own photo studio and take the photos in your own home, almost for free! Perfect for both introverts and cheapskates. ScienceEnvy shows you how.
Taking magazine-quality photos is definitely an art, but it is not rocket science. Anybody can learn the basics in photography, and you can put together a simple photo studio in your home or garage using cheap components. However, to begin with, you will need a decent camera. There are tons of them to choose from, and even many of the cell-phone cameras are quite good these days. If you are buying a brand new camera that is not part of your phone or tablet, you might want to consider one with wi-fi connection. The camera used to create this tutorial is an Olympus PEN E-PL7, which has wi-fi connectivity, but there are many others.
Secondly, you need lights. Photography is all about the light. With the right light, a nice outfit, a flattering pose, and perhaps a bit of makeup, almost anybody can feel like they are a model. There are tons of studio kits for sale online. These typically contains light fixtures, soft boxes, backdrop/muslin, and sometimes reflectors. A simple online search will give you options from about $100 to thousands of dollars. You can also build most of it yourself if you are a bit handy and have the time to spare. You can maybe even find most of the needed components in your home. The tutorial further down on this page from The Slanted Lens shows you how to make your soft boxes (although it is in reality an advertisement for professional lights, which is not affiliated with ScienceEnvy). Nevertheless, it gives some great ideas for a crafty person. I personally prefer to use make sure to your LED bulbs or CFL (Compact Fluorescent Lights) instead of incandescent light bulbs to decrease the fire risk, and to also decrease your electricity use and avoid overheating yourself.
Although focused on children, there are many tricks in these great tutorials that you can apply to the photos of yourself: “How to set up a DIY photo studio in your home” Part 1 and Part 2.
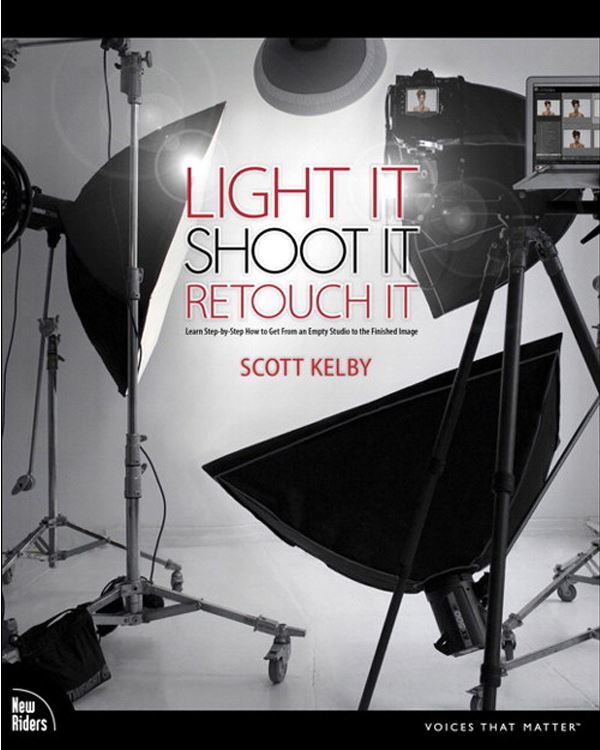
There are also a large number of books coverings everything from lights and posing to retouch and storage. This is my current favorite, but there are many more great books: “Light It, Shoot It, Retouch It: Learn Step by Step How to Go from Empty Studio to Finished Image” by Scott Kelby.
So you have your “studio”, camera and lights, but you don’t have anybody to push the button. Perhaps you don’t have a willing friend or family member, or you are simply a bit introvert like me and prefer that nobody is watching when you pretend to be a photo model. Do not despair – modern technology is here to help you! Let me present the “high-tech selfie”.
The “High-tech selfie”
The high-tech selfie is the secretly model-dreaming person’s savior. It is far more sophisticated that your regular selfie stick. It is basically a semi-professional or professional setup, the only difference is that you are both the photographer and the person being photographed.
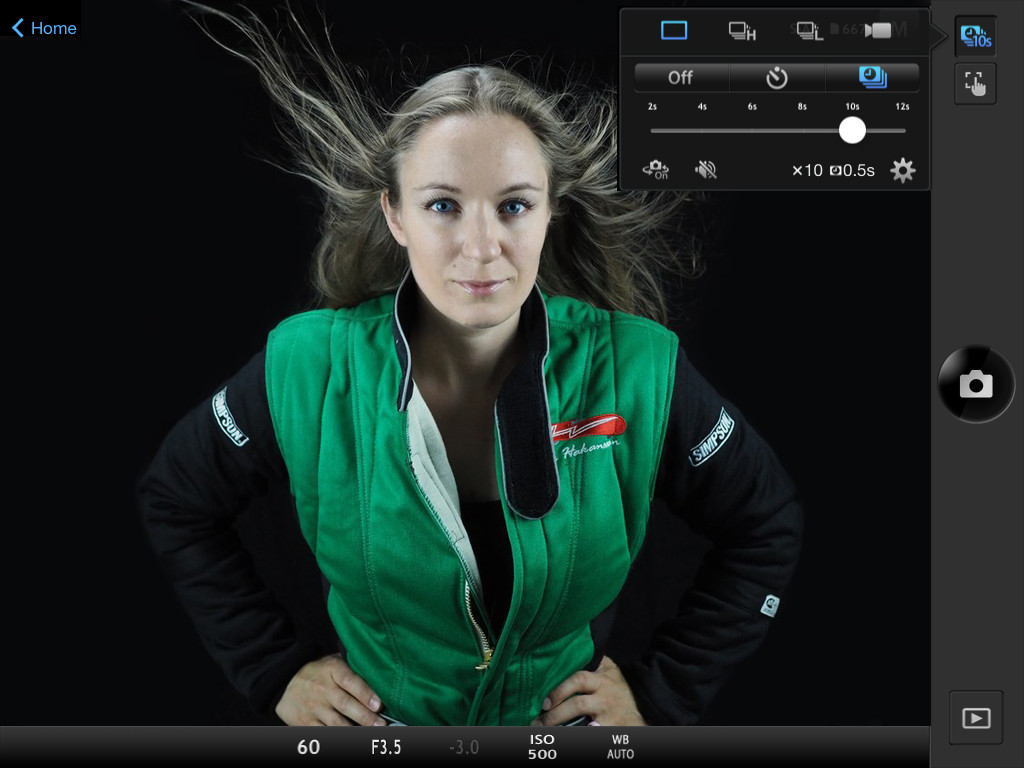
The fundamental part of high-tech selfie is a camera that is remote controlled or controlled through wi-fi from a tablet, phone or computer. Cameras with remote controls have existed for many years, but the problem is that you have to walk over to the camera to look at the picture, which may disturb your pose and settings. Wi-fi controlled camera such as the Olympus PEN EPL7 with the Olympus Image Share app used to create this tutorial will give you a live view as well as the possibility to control the camera settings from the app. There are several other cameras with the same functionality, which one to choose is all about your preferences and budget. The apps can typically be run on both a phone and tablet. This tutorial is going to use the word “tablet”, because an iPad Mini tablet was used during the presented photoshoot. All the settings will also refer to the above mentioned Olympus camera, but may be applicable for other camera systems. This tutorial is not affiliated or endorsed by Olympus.
Before you do anything else, start by installing the app and set up the wi-fi connection. You don’t want to sit in your photo outfit and sweat and swear over connectivity problems. Make sure that the batteries in both the camera and your tablet are fully charged, the wi-fi connection draws quite a bit of power. Mount the camera on the tripod. Get a chair, stool, or small table to place your tablet on.
You should also set up your studio, lights, and props before you get into the outfit or do your hair. Dragging around lights and backdrops will mess up your hair, and you will have to re-do it.
Makeup is a personal preference, but remember that it is not only for females. Most males you see on TV wear some makeup. The safety of your private home studio might be a good place to find out if a bit of makeup will cover up those pimples and give you a nicer Facebook profile photo. (Hey, there is nothing wrong with caring about your appearance). It is often easier to cover pimples with makeup than to remove them in Photoshop later, or at least it will make you Photoshop work easier if you use makeup.
The studio is ready, the camera is ready, and you are ready – it is time to take photos! Get into your pose and use the app to take some test photos. You will likely have to work the settings a bit before you get what you want. Particularly watch out for the ISO. The default setting is “auto”, which may fool you to use a shorter shutter time than necessary with a grainy picture as result. Many photographers recommend that you never go over 200, but that might be difficult if you don’t have a very high quality camera and plenty of light. The photos in this tutorial were shot at ISO 1600, but that’s because I forgot to change it from “auto”. I have used 400 or 500 in subsequent shoots with good results.
Note that the “live view” in the app is a low resolution preview. It may not reflect all the settings, so you actually have to take a photo to see how it will come out.
My favorite function in the Olympus Image Share app is the self-timer. I set it for 10 seconds of count-down to get sufficient time to get into position. I then set it to take 10 photos with about 2 second intervals. That will give you a chance to work your pose. You can also glance at your tablet and only miss perhaps one photo. In this mode, the app will show a mirror image of the set, which takes a little bit to get used to.
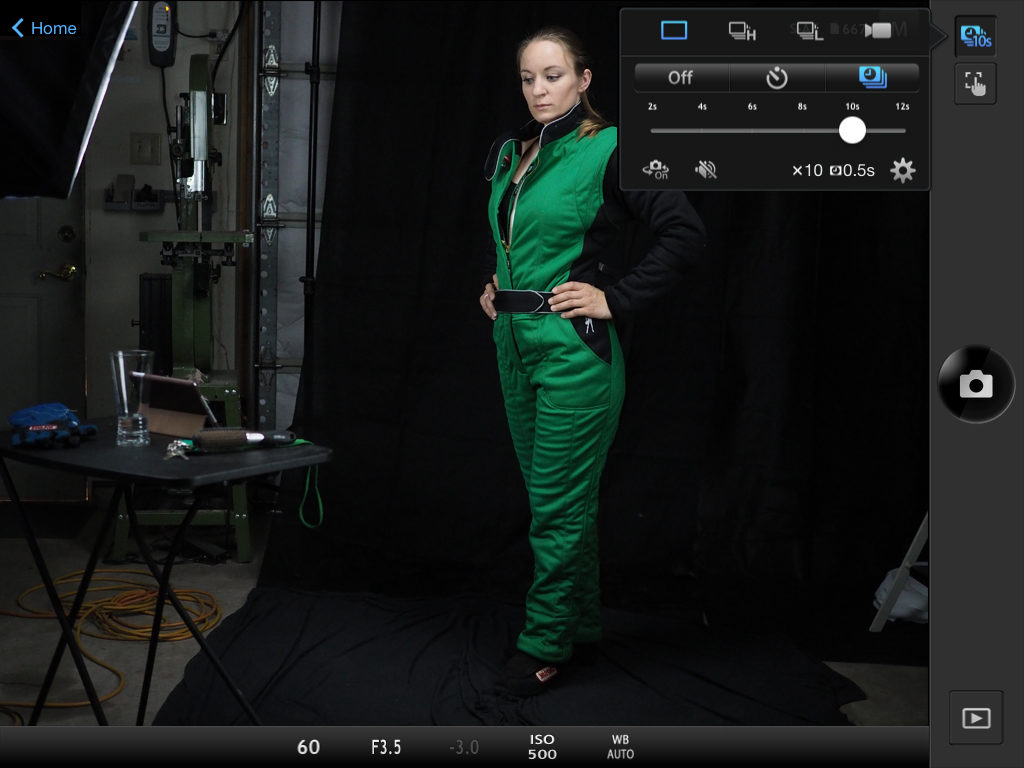
As soon as you have taken the photo, you can look at the finished result and also download it to your tablet (although the downloaded version appears to have lower resolution than the version on the memory card in the camera, but perhaps that is just something about the settings in my tablet). If you don’t like the photos, just make some changes and take more. I took 450 photos in the session that you can see in the timelapse video, about 5 of them are what I consider “really good”. Remember that you can also enhance and improve your photos in Photoshop or other photo editing software. If you end up not liking any of the photos, just delete them all and you can pretend it never happened. Perfect for people that feel uncomfortable in front of the camera or are shy in general and want to feel in control.
If you like your photos – great! You know have photos that you own the copyright for, and you can use them for anything you like. You can use them as your profile picture, submit them to a photo competition, print coffee cups and sell, or whatever you want. If you hire a professional photographer, there may be usage restrictions for the photos, depending on the agreement. That is not the case when you take photos of yourself.
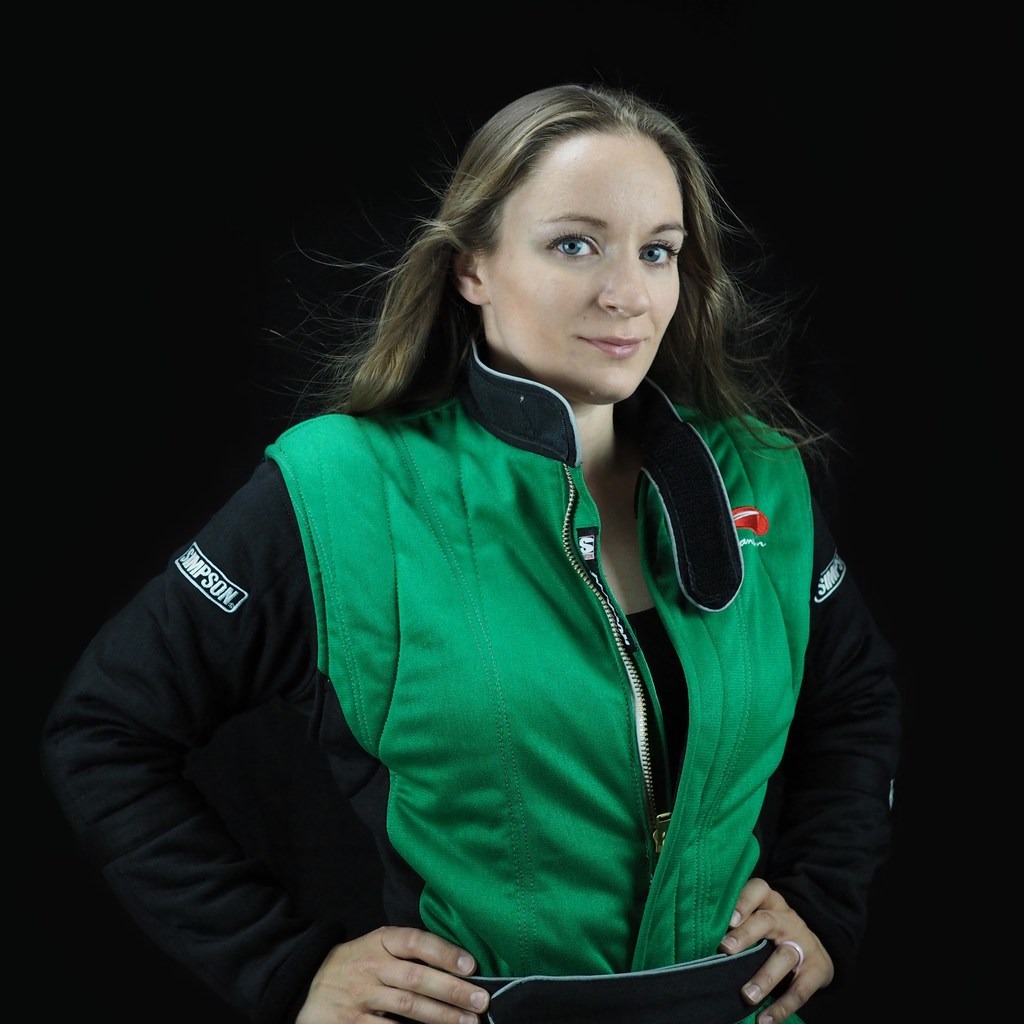
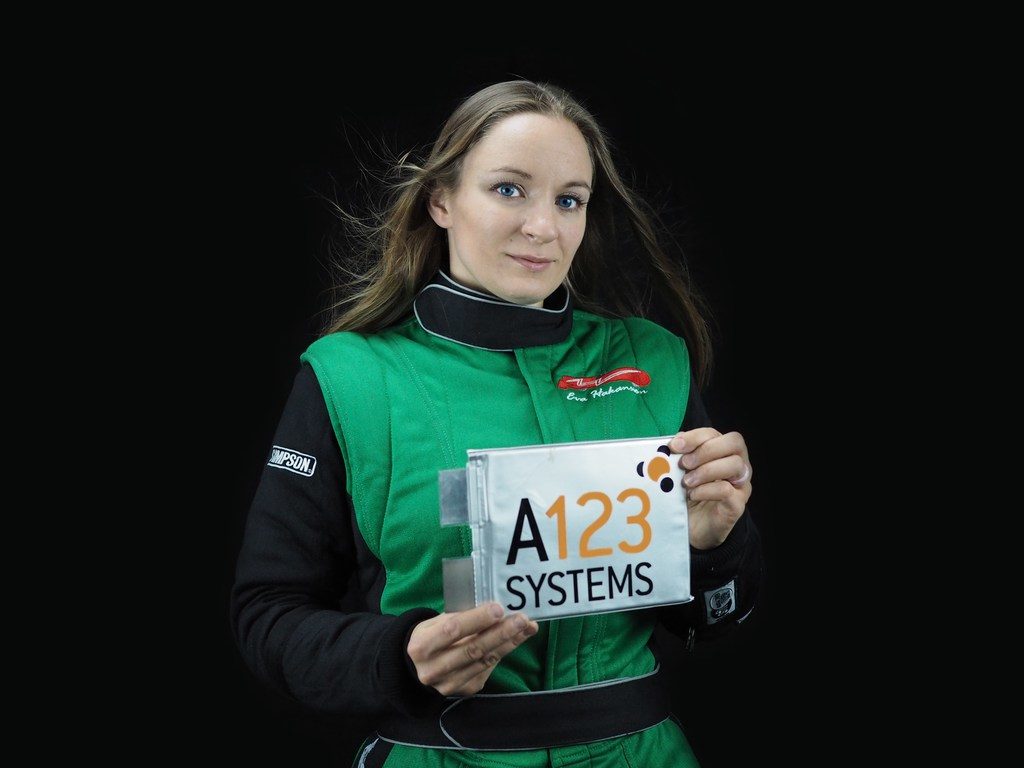
Although high-tech selfies rarely can compete with the work of a real professional photographer with a real studio, tens of thousands of dollars of camera equipment and a glam squad, we can all learn to take professional style photos. Don’t judge your own work to harshly, remember that all photographers were beginners at some point. Just have fun, learn, read books and tutorials, and enjoy the opportunity of being a model for a day without the pressure to perform. The video below illustrates a high-tech selfie photo shoot. Enjoy!
The below video is a very informative tutorial how to make your soft boxes (although really advertisement for professional lights, not affiliated with ScienceEnvy). Nevertheless, it gives some great ideas for a crafty person. If you use LED bulbs or CFLs (Compact Fluorescent Lights) instead of incandescent light bulbs, you will decrease the fire risk, and to also decrease your electricity use and avoid overheating yourself.
